How to Pick and Style a Vanity Mirror You’ll Actually Love

There is a certain kind of frustration that comes with a getting-ready corner that just never looks right. Maybe you have a mirror propped against the wall because you haven’t figured out how to hang it yet. Maybe you inherited a frameless builder-grade mirror that reflects your face perfectly but makes the whole corner feel like a gas-station bathroom. Maybe you just have a blank wall above a dresser and a vague sense that it could look so much better.
I have been there. Most of my adult life has been spent decorating rentals, so the “don’t touch the walls” constraint is one I know deeply. What I have learned is that a vanity corner is one of the fastest, most affordable parts of a home to make feel genuinely nice. You don’t need a renovation, a designer, or a big budget. You do need to think through a few things in the right order: size first, then hanging, then light, then the styling around it. Once those are right, the corner almost decorates itself.
This guide walks through all of it, from measuring before you buy to the finishing touches that make it feel like a space you want to come back to.
Start With Size: The Numbers That Actually Matter
Before you fall in love with a mirror online, measure first. This is the step most people skip, and it is the reason so many mirrors look wrong once they arrive.
The rule for wall-hung mirrors is simple: your mirror should be narrower than whatever it hangs above, not the same width and definitely not wider. According to Wayfair’s vanity mirror sizing guide, the sweet spot is 2 to 4 inches narrower than the vanity on each side. So if your vanity or dresser is 36 inches wide, you are shopping for a mirror between 28 and 32 inches wide. If your surface is 48 inches, aim for 40 to 44 inches. Going too small makes the mirror look like a mistake. Going too wide makes the whole wall feel unbalanced and a little chaotic.
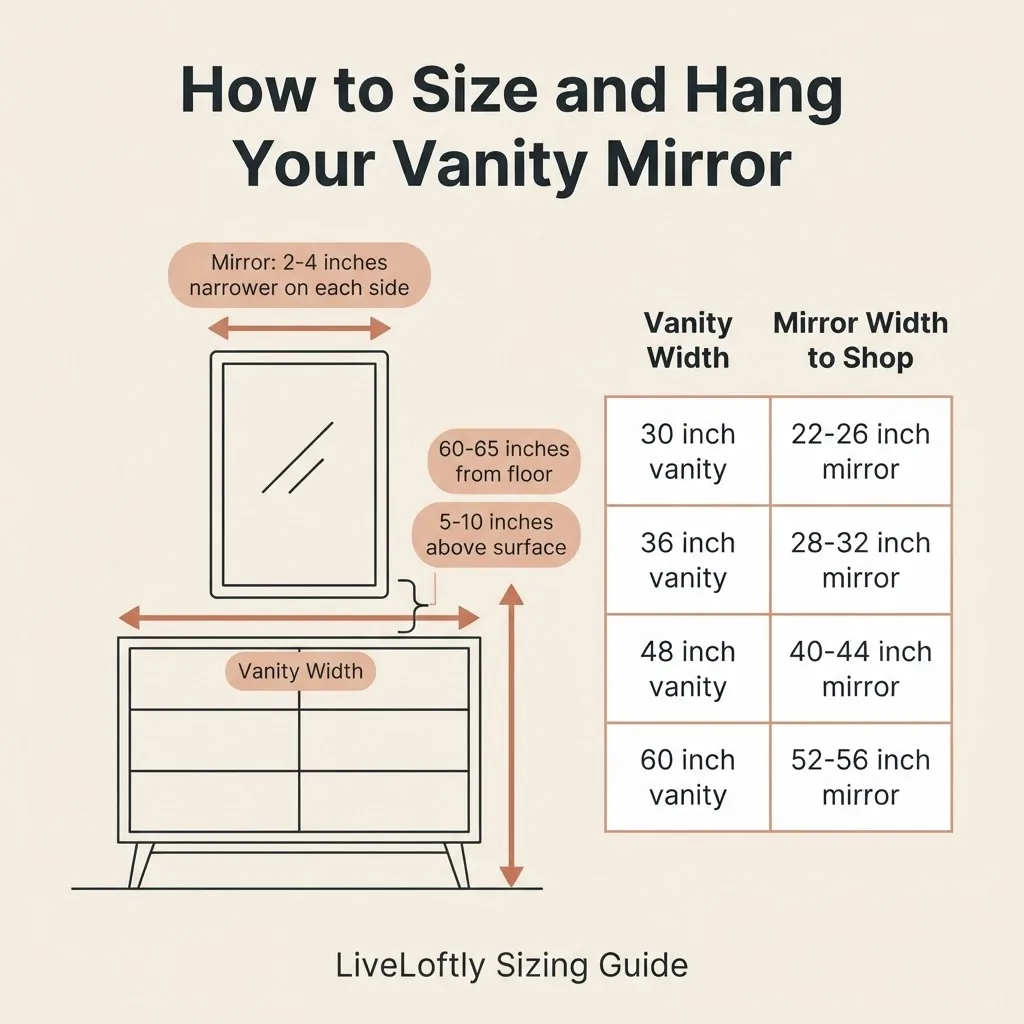
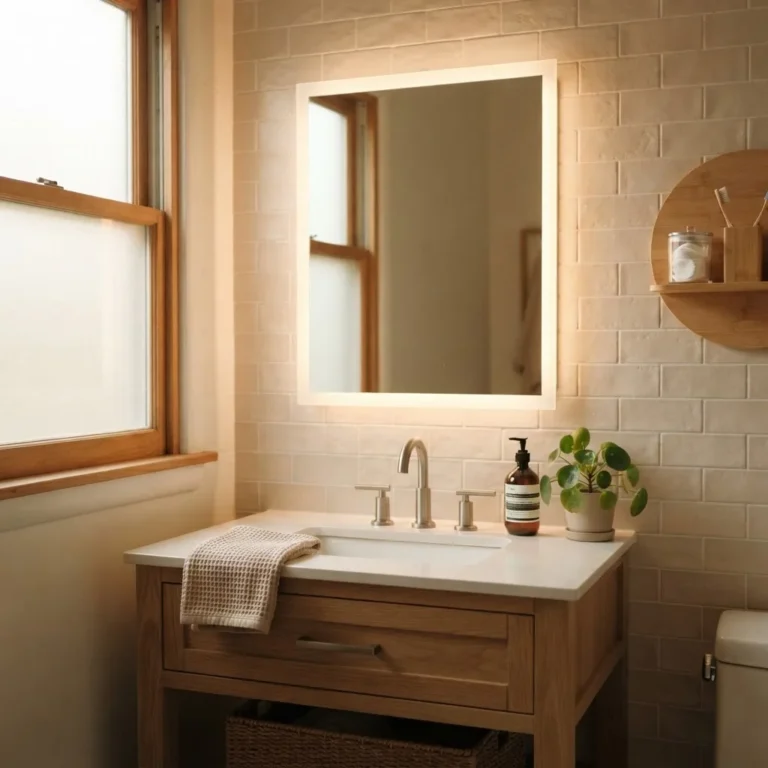
Height matters just as much. For a wall-mounted mirror, the center of the mirror should sit somewhere between 60 and 65 inches off the floor. The bottom edge needs at least 5 to 10 inches of breathing room above the countertop or faucet to keep things visually clean. This is also a practical rule: water splashes and hairspray mist will reach a mirror that sits too close to the surface. Robern’s mirror placement guide explains that bathroom mirror height relative to the vanity and faucet is one of the most commonly misjudged decisions, and the same math applies whether you’re working with a bathroom vanity or a bedroom dresser.
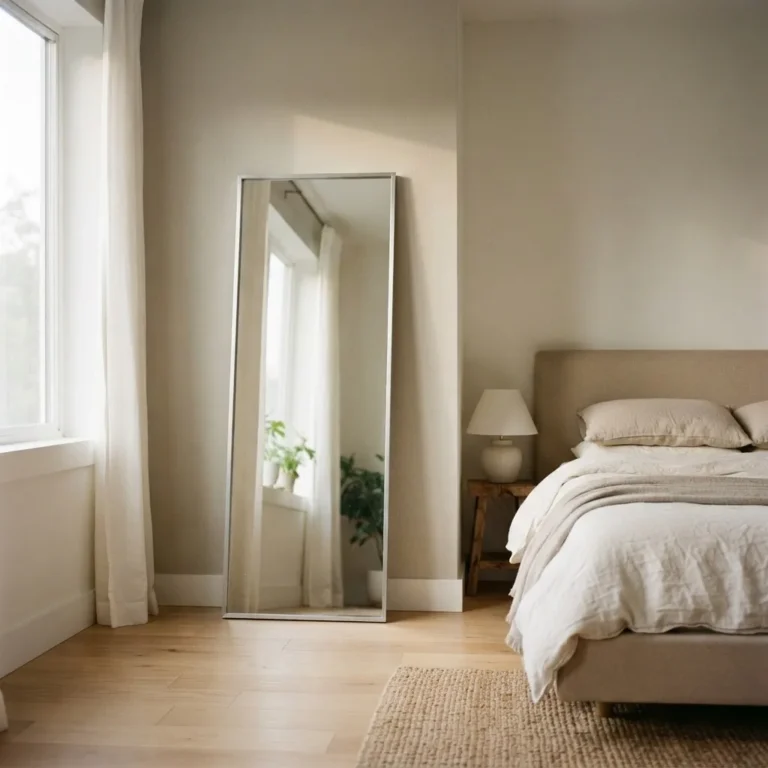
For tabletop and leaning mirrors, you get more flexibility. A tabletop mirror just needs to hit roughly eye level when you are seated. A leaning floor mirror, when propped against the wall at a slight backward angle, generally works well in the 60 to 65-inch height range too.
Shape: Matching the Mirror to the Room’s Mood
Shape is where most people get tangled up online because there are so many options. Here is a simple way to think about it.
Rectangular mirrors are the most versatile. They give you the most usable reflection for the space they occupy, they are easy to center above furniture, and they work in almost every style from modern to traditional. If you are unsure, this is where to start.
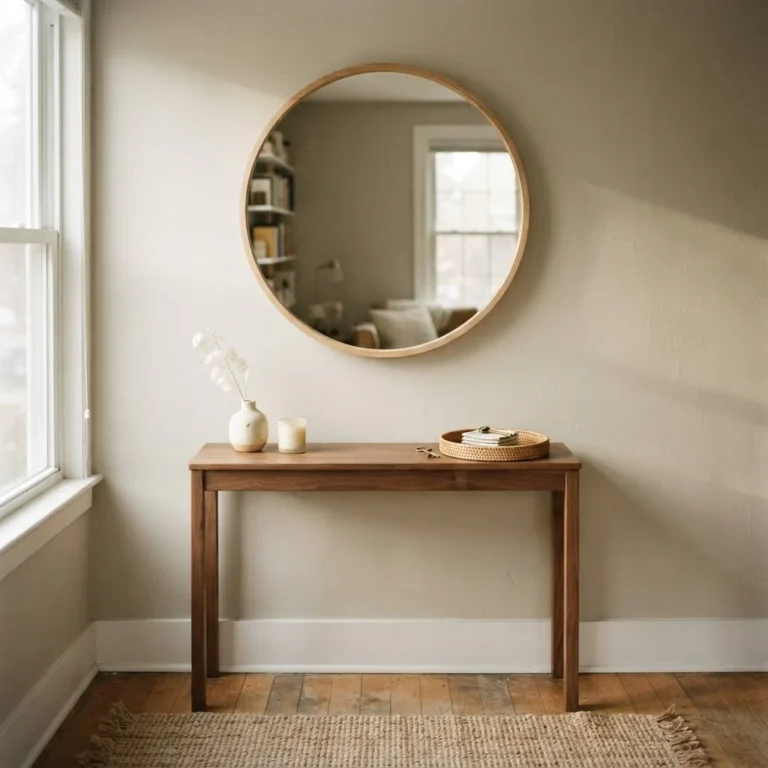
Round and oval mirrors are the most popular choice right now, and for good reason. A round mirror softens a room that is full of hard angles, like a space with a rectangular desk, sharp dresser edges, and squared-off picture frames. It also looks very intentional without trying hard. The tradeoff is that round mirrors give you less actual reflection, which can matter if you are doing hair or full-length styling.
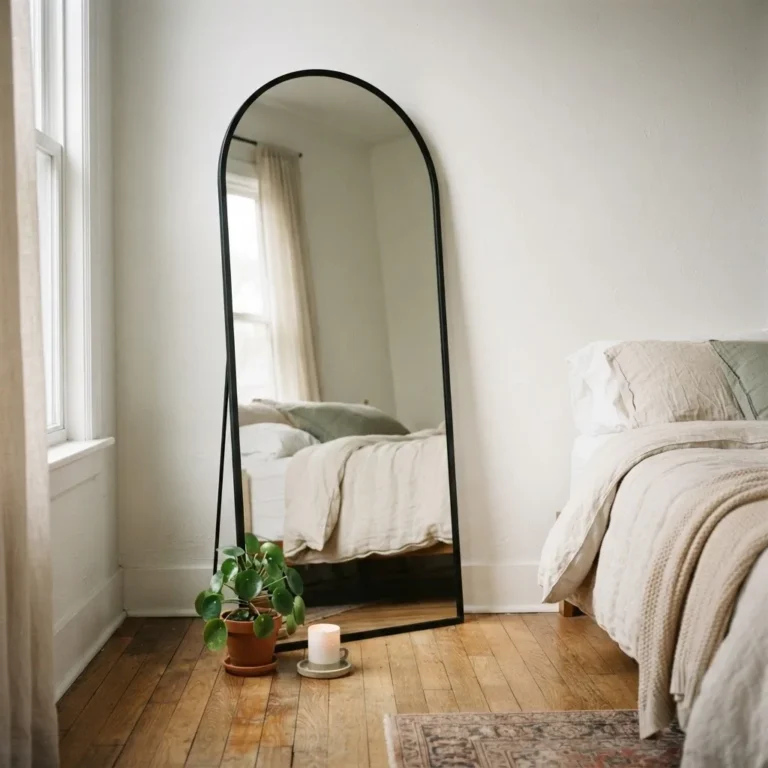
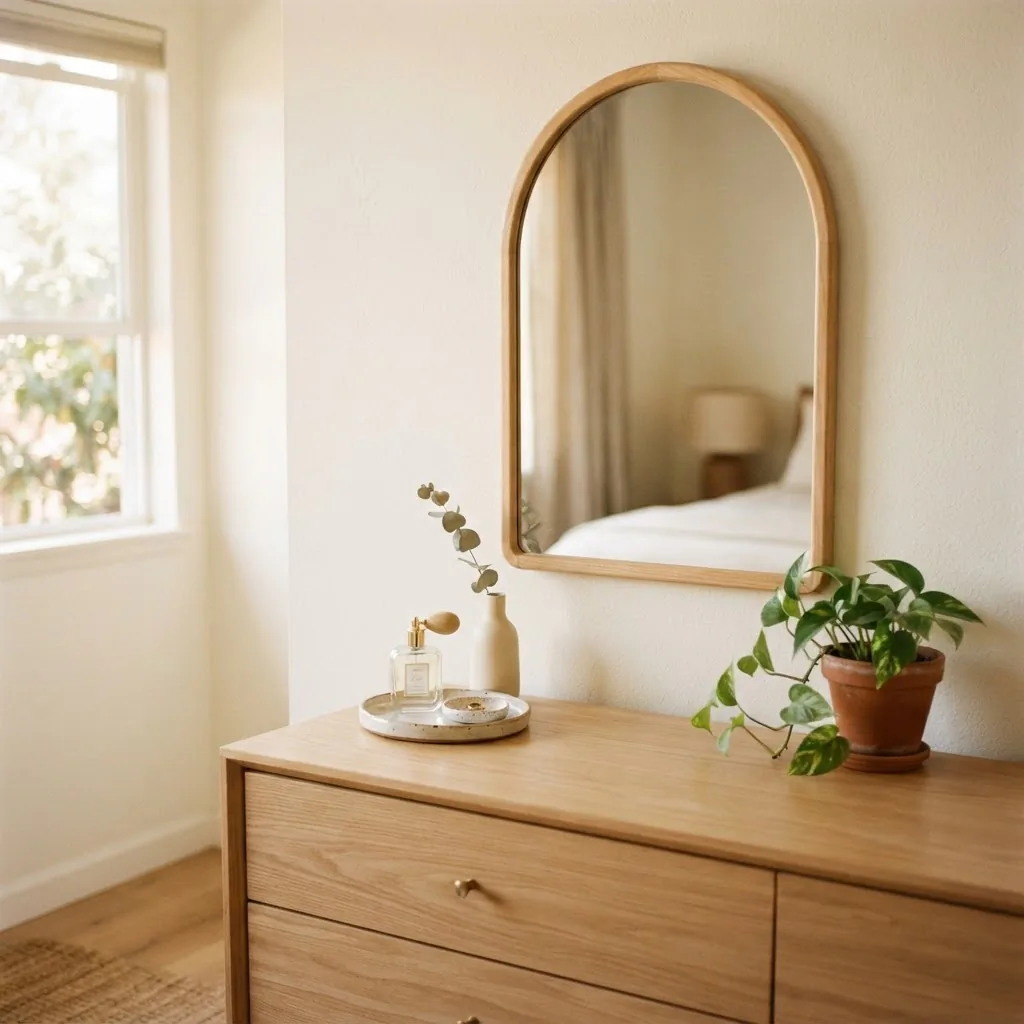
Arched mirrors (sometimes called arch-top mirrors) thread the needle between the two. They give you more vertical reflection than a round mirror while still offering that soft, curved top edge that reads as effortlessly pretty. Arched mirrors work especially well in cottagecore, boho, and romantic-minimal spaces. If you want a wall-hung mirror that looks like you thought carefully about it, an arch is one of the most reliably good choices right now.
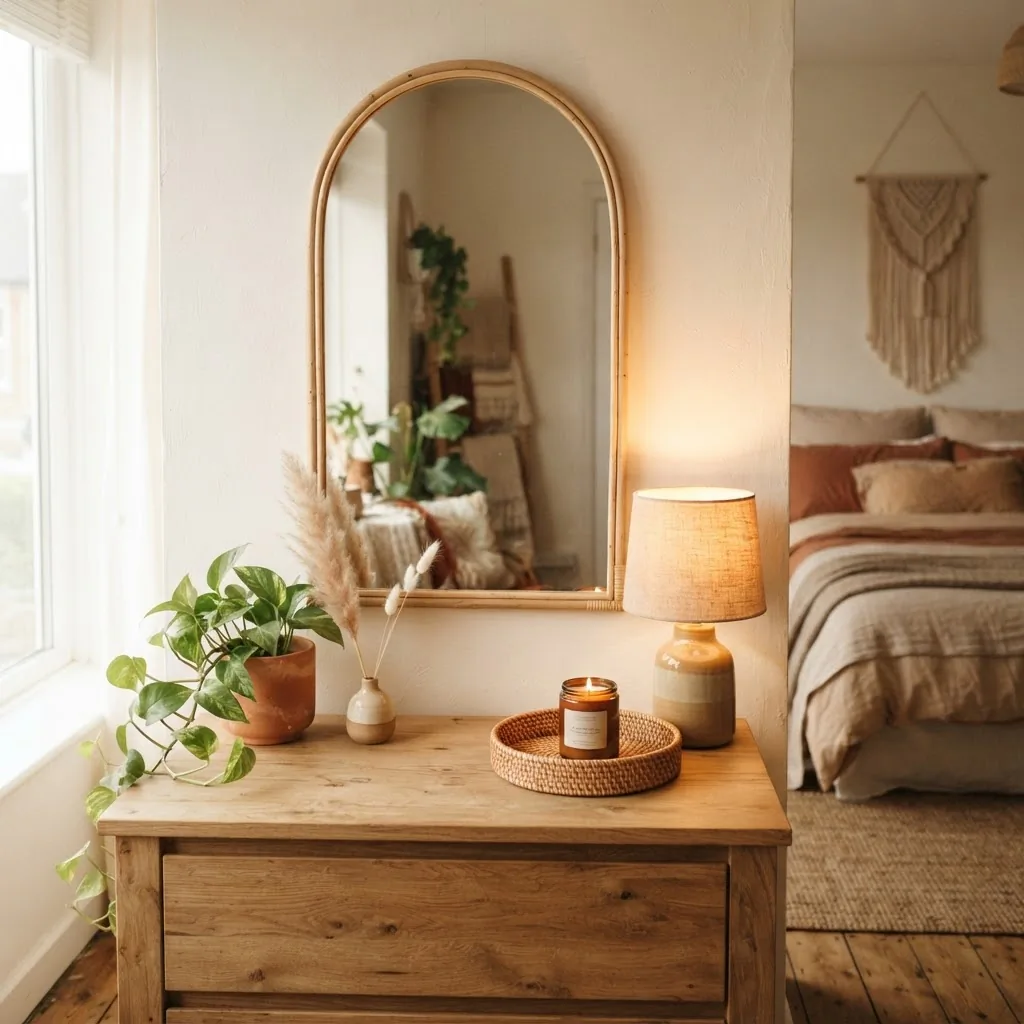
Irregular, organic, or sunburst shapes are great as accent pieces but can feel restless as your primary getting-ready mirror. Save those for secondary styling.
How to Hang a Mirror Without Drilling (Yes, Really)
This is the question I get asked most often by renters, and I understand why. A heavy mirror feels permanent, and most of us have been burned by a Command strip failure at some point.
Here is the honest breakdown. The key is knowing the weight of the mirror before you choose your hanging solution, because the weight is what determines what adhesive or hardware actually makes sense.
For lighter mirrors, under 20 pounds, 3M Command Picture Hanging Strips can handle the job cleanly and remove without wall damage. They hold frames up to 24 by 36 inches and up to 20 pounds. The important thing is to follow the instructions exactly: clean the wall with isopropyl alcohol first, press firmly for 30 seconds, and let the adhesive cure for at least an hour before loading weight. Skipping these steps is why strips fail.
For heavier mirrors, up to 65 pounds, 3M CLAW Drywall Picture Hangers are genuinely impressive. They go into the wall with a thumb push, leave only a tiny pinhole when removed, and hold dramatically more weight than strips. They do make a small hole, but it is the kind of hole that touches up with a dab of spackle and a matching paint pen in about two minutes. Most renters find that acceptable.
The third option, and my personal favorite for renters who want zero commitment, is a leaning or floor mirror. A large leaner propped against the wall does not touch your lease at all. It can be full-length and functional, it adds softness and height to a corner, and you take it with you when you move. The only real downside is that it requires floor space and needs to lean against something stable. Use rubber furniture feet or a small furniture gripper pad on the baseboard to keep it from sliding.
The Light Question (This One Changes Everything)
Getting the mirror right and ignoring the light is like buying a great dress and wearing it under fluorescent parking-garage bulbs. The light you get-ready in will genuinely change how your makeup looks in the world.
Most people have overhead lighting in their bedroom, and overhead lighting is actually one of the worst options for a getting-ready mirror. It casts shadows down your face, makes your brow ridge and nose look deeper, and creates a very specific “overlit from above” effect that is not flattering and not accurate. What you want is light that hits your face from the mirror plane, not from the ceiling above you.
The two options that work are sconces flanking the mirror or a lighted mirror itself. If you are going the lighted mirror route, pay attention to two numbers: color temperature and CRI. Color temperature is measured in Kelvins. Warm light (2700K to 3000K) is cozy and flattering, but it hides warm-tone errors in your makeup, like foundation that’s slightly too orange or too much bronzer. For accurate makeup application, look for something in the 4000K to 5000K daylight range. According to Robern’s guide to the best lighting for makeup, bulbs with a CRI of 90 or above are ideal because they render color much more accurately. Below that threshold, what you see is genuinely not what you get once you step outside.
A tunable lighted mirror, one that lets you switch between warm and daylight modes, is the real answer for most people.
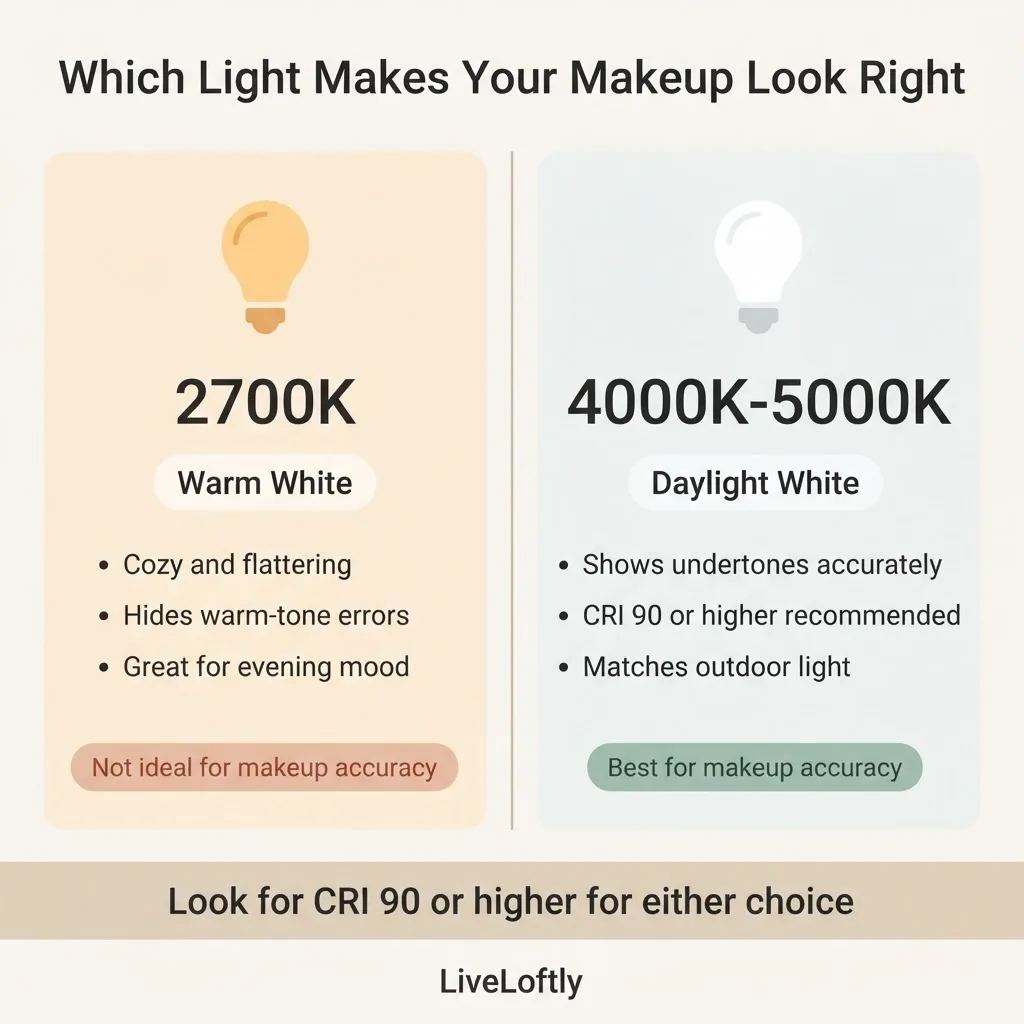
Warm light for winding down in the evening, daylight for morning makeup. If you are anything like me when I started paying attention to this, the difference is startling.
One critical safety note for lighted mirrors: in October 2024, UL Solutions issued a warning about unauthorized UL certification marks on LED illuminated bathroom mirrors. This is a real electrical safety concern, not just a box-checking formality. When shopping for any lighted mirror, look for a genuine UL or ETL listing on the product spec sheet or the physical label. Both certifications follow the same safety standards for the U.S. market. If a listing only shows a logo in the product photography but the spec sheet is silent on certification, that is a red flag worth taking seriously.
16 Vanity Mirror Ideas by Style and Setup
Now for the fun part. Here are the actual ideas, organized by the situation you are probably in.
For the renter who cannot drill
A round rattan or woven mirror in the 24 to 30-inch range is one of the best entry-level options because the frame material keeps the weight down (usually under 10 pounds), making it genuinely compatible with Command strip hanging. It looks intentional, it fits every warm-toned bedroom palette, and it tends to photograph beautifully without any other styling.
Pair it with a leaner below the dresser, or skip wall-hanging entirely and lean a large arch mirror against the wall beside a dresser. This zero-hardware setup actually looks more editorial than a mirror drilled into a badly-positioned wall.
For the small-space apartment or studio
A tall, narrow arch mirror is your best friend. It adds vertical height to a room that feels low and compressed, it reflects light across the space rather than down into it, and in a studio it does double duty as a getting-ready mirror and a room-expanding trick. Look for something in the 20 to 24-inch width range so it doesn’t overwhelm a narrow wall section.
If you genuinely have no wall space, a tabletop lighted mirror on a shelf or dresser corner is the answer. The Wirecutter team spent 50 hours testing lighted makeup mirrors and their roundup of the best lighted makeup mirrors is a thorough starting point. Their top pick for everyday use balances light quality, adjustability, and size well. Expect to pay $60 to $150 for a quality tabletop lighted mirror with tunable color temperature. Below $40, the light quality tends to drop significantly and you lose the CRI accuracy that actually makes a difference.
For the boho bedroom
Woven rattan, macrame-wrapped frames, natural wood, and irregular shapes all work here. Layer the mirror with a small ceramic vase, a trailing plant like pothos or a small eucalyptus stem in water, and a warm-toned table lamp nearby. The look should feel organic and slightly imperfect, which is exactly what makes it good.
Skip anything chrome or high-gloss in a boho space. It reads as incongruent. Matte wood, raw brass, or hand-carved frames are all on the right track.
For the minimalist bedroom
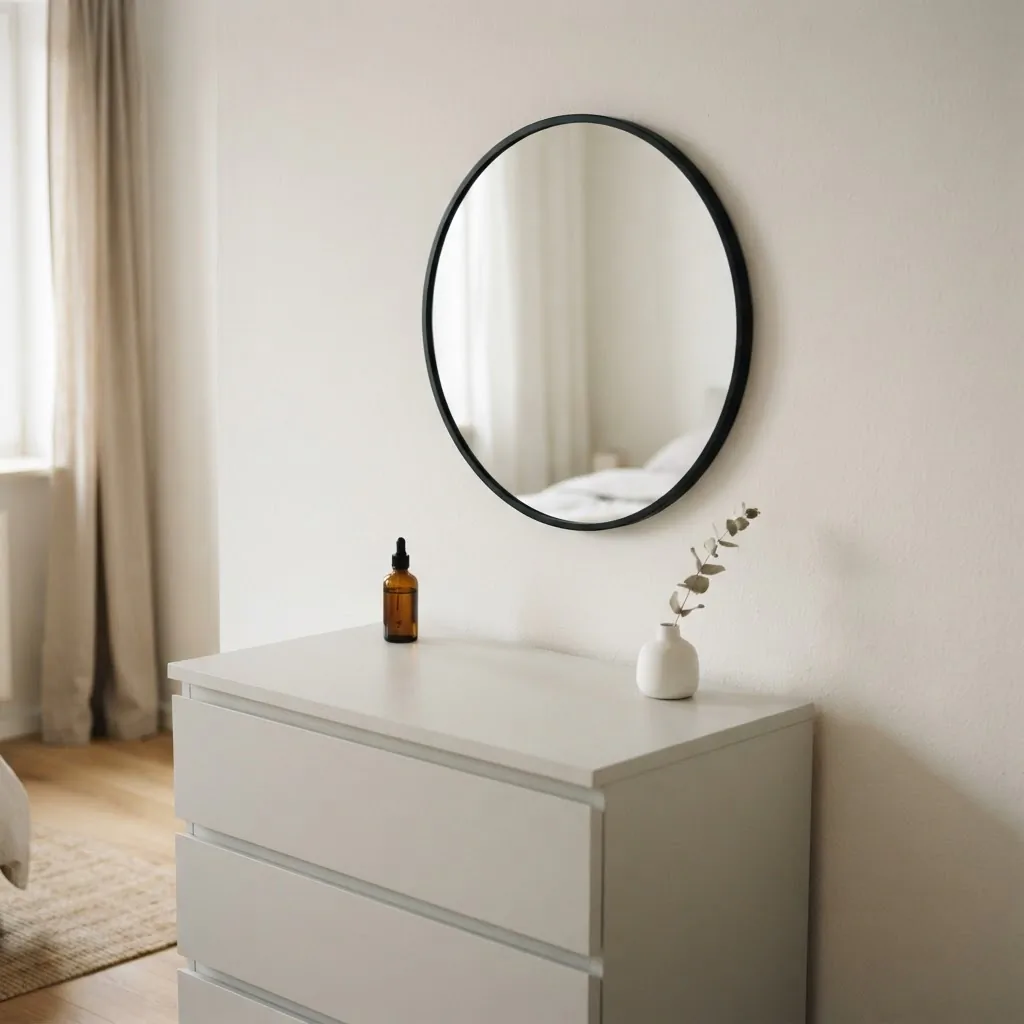
A simple frameless circle mirror or a thin black steel arch is the most versatile choice here. The frame should disappear and let the shape do the work. Keep the surface below the mirror edited down to three things or fewer: one perfume, one plant, one small tray. Minimalism on a vanity works when you stop adding and start editing.
For the coastal or cottage-style bedroom
Natural rope-wrapped frames, driftwood finishes, shell-accented edges, and white-painted wood frames all fit here. Round or oval shapes read as more coastal. Rectangular frames with a white painted finish can work in a more cottage direction. Pair with linen textures and a small wooden tray below.
For the glam Hollywood corner
A Hollywood-style mirror with the ring of round bulbs around the frame is the obvious choice, and when done well it genuinely looks amazing. Keep the rest of the corner minimal because the mirror is already doing a lot of visual work. A simple stool or bench, a perfume tray, and one statement candle are all you need around it.
For the dark, moody bedroom
A mirror with a black matte frame, ideally with some visual weight to it (thick wood, welded steel), works well here. The surface around it can hold dark-toned candles, small sculptural objects, and a plant with dark or dramatic foliage. Moody bedrooms often suffer from too many reflective surfaces, so resist the urge to add a second or third mirror. One very considered one is right.
For the cottagecore or vintage space
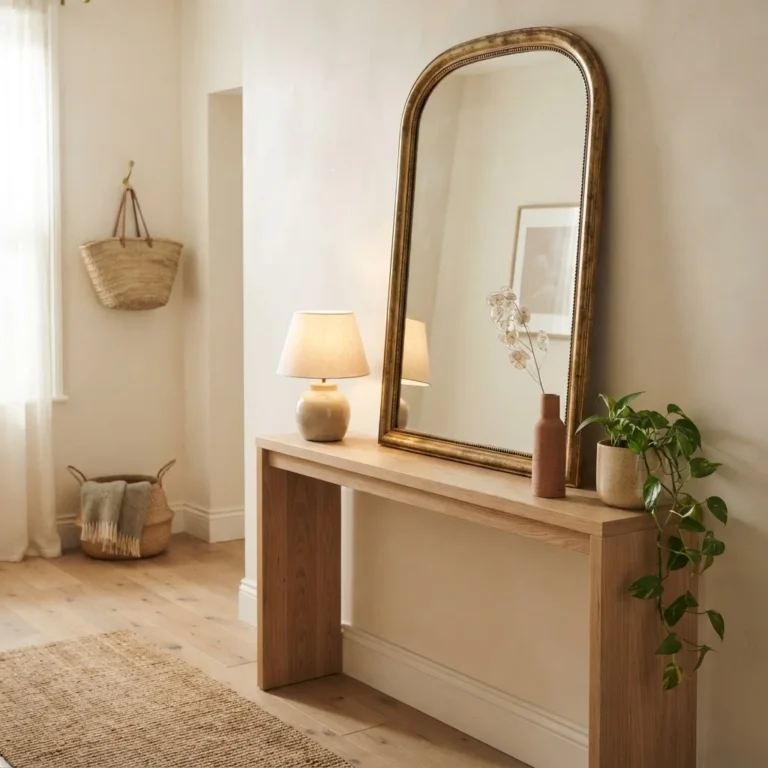
An ornate, antique-style gold or silver frame, an oval shape, or even an old mirror picked up from a thrift shop with its original aged frame is ideal here. The more imperfect and worn-looking the frame, the more it fits. Don’t stress about the mirror being perfectly clear or the frame being unscratched. That patina is the point.
Styling the Corner Around the Mirror
The mirror is only one element of a getting-ready corner that feels really good. What you put around and below it matters almost as much. Here is how I think about it.
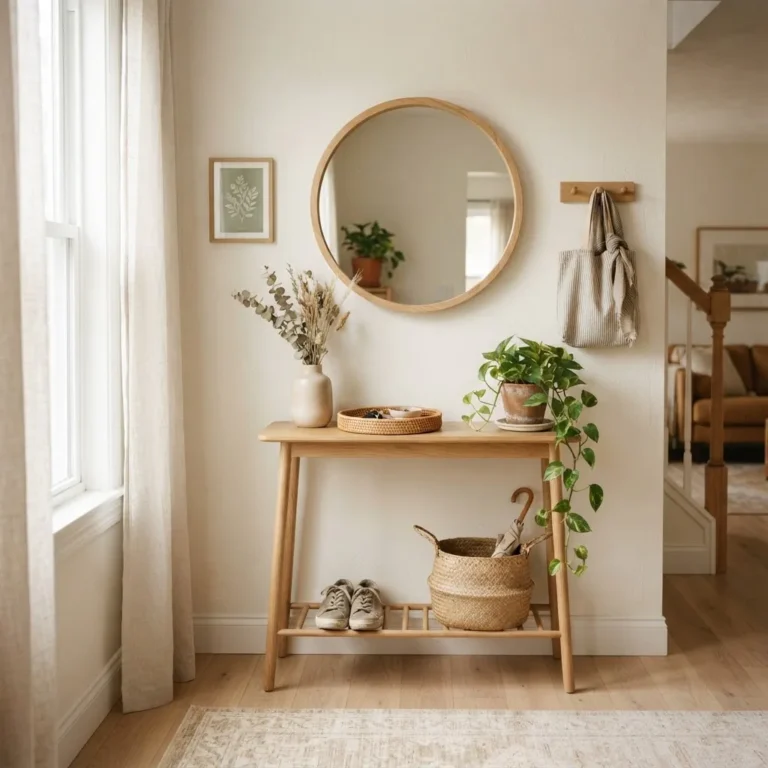
The surface below the mirror, whether it is a dresser top, a small vanity desk, or a floating shelf, should feel curated, not crammed. The goal is enough to look intentional but not so much that it feels cluttered. A small tray or flat dish is the best organizing tool here because it defines a zone and corrals things that would otherwise scatter.
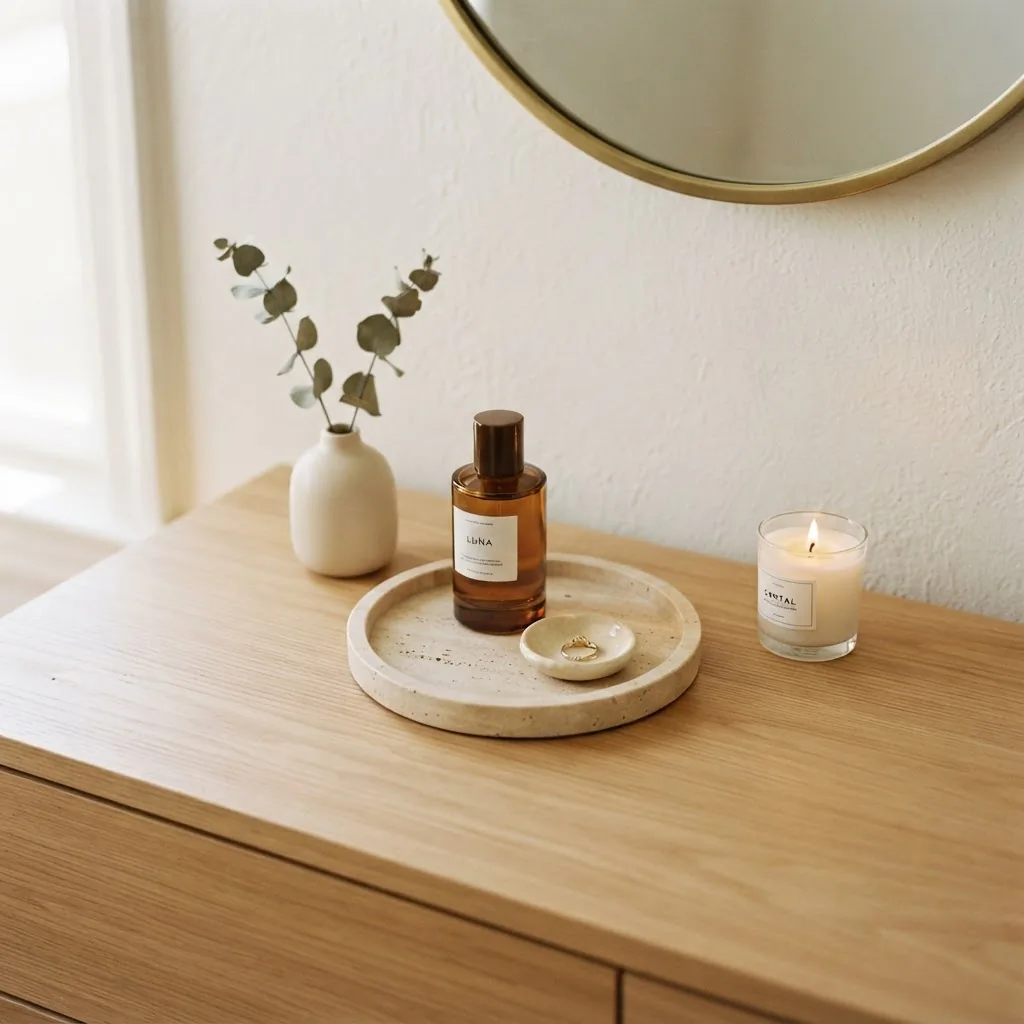
Perfume bottles, a small ring dish, a candle, and one plant or stem are a perfectly good lineup. That is four things on a tray, and it reads as a vignette rather than a mess.
If you want plants near your mirror, small varieties work best. A small pothos, a succulent, a trailing string of pearls, or a single stem in a bud vase all add life without taking over. Large plants near a vanity mirror tend to interrupt the sightline and make the whole thing feel crowded.
Lighting around the mirror, beyond the mirror itself, can include a small table lamp placed to one side. This is especially useful in evening when overhead light is too harsh. A lamp with a warm bulb (around 2700K) positioned just off to one side of the mirror gives you a softer glow that feels more relaxing than task-appropriate, which is fine for evening routines.
One thing I always suggest: hang something on or near the mirror itself to make it feel less like a functional object and more like a decor moment. A small wreath of dried eucalyptus or pampas hung on the mirror frame, a delicate chain of beads draped over one corner, or a tiny dried botanical pressed into the corner of the frame all work. It is a small touch that makes the mirror look chosen rather than installed.
The “Worth It / Skip It” Honest Notes
Worth it: Spending a little more on a mirror with a frame you genuinely love. The frame is what you look at every day. A cheap frameless mirror at $15 will do the job but it will look exactly like a $15 frameless mirror, and you will feel it every morning.
Worth it: A lighted mirror with tunable color temperature and CRI 90+, even if it costs $90 to $120. The difference in how accurate your makeup looks in the real world is meaningful enough to justify it.
Skip it: Hollywood-style mirrors with very cheap bulb quality. The ring of bulbs sounds great but if the CRI is low, the light is unflattering in a different way than overhead light is. Check the specs before buying on aesthetics alone.
Skip it: Decorative mirrors with very intricate laser-cut frames for a primary getting-ready mirror. They look great on mood boards and feel fussy and hard to clean in real life.
Skip it: The temptation to add a second or third mirror to a small space “for more light.” One well-placed mirror does more than three badly placed ones. Editing beats adding, always.
A Note on Keeping Your Deposit
If you have used adhesive products on your wall, take them down exactly as the manufacturer instructs. For Command strips, that means pulling the tab straight down slowly, not pulling outward. Done correctly, they release cleanly. Done incorrectly, they can pull paint. The 3M hanging guide walks through removal as clearly as installation, and it is worth reading both before you start.
For 3M CLAW hangers, the small pinhole they leave is genuinely easy to fix. A dab of spackling compound, let it dry, and a touch of matching paint or paint pen on top. Most landlords will not charge for a pinhole the size of a pencil tip. They will charge for a torn-out wall anchor hole.
Taking five minutes to do this right before you move out is one of the better investments of a rental tenancy.
The Finish Line
A getting-ready corner that feels good to use is not a luxury. It is one of the most daily pleasures you can build into a small space, and it does not require much. A mirror that is the right size and shape for the wall. Light that is honest and flattering. A little surface below it that is edited down to what you actually love. That is genuinely all it takes.
You do not have to own the walls to make it feel like yours.