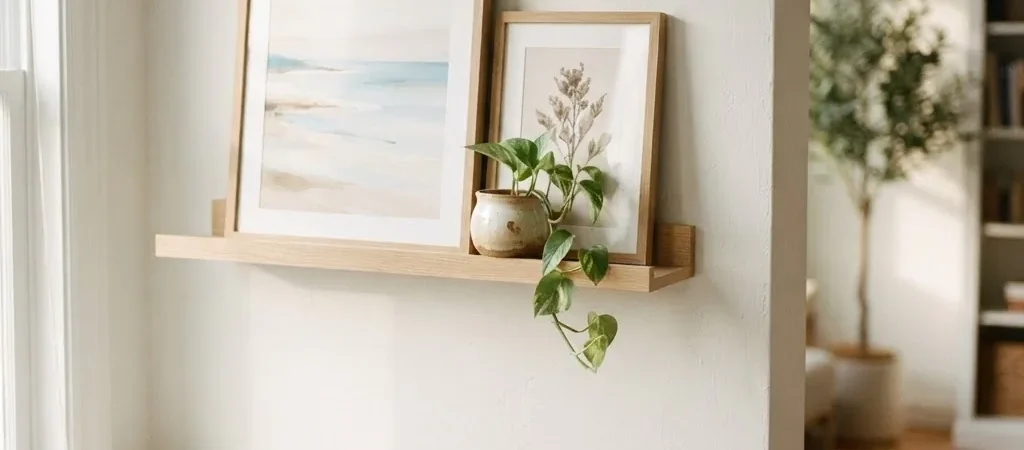
There is a particular kind of blank wall that every renter knows. It’s that flat expanse of contractor beige that greets you every single morning, doing absolutely nothing for the room, and you keep meaning to deal with it but the lease says something about holes, so you just leave it and try not to look.
I have lived with a lot of those walls. Years of decorating rentals taught me that the barrier is almost never actually money or skill. It’s the combination of not wanting to lose your deposit and not knowing which methods actually work versus which ones just fall off at 2 a.m. and take a chunk of paint with them.
This article is everything I know on the subject, organized so you can actually use it. No ideas that require drilling. No suggestions that need a $300 budget to look decent. Just honest, doable, renter-friendly wall art ideas, with the real measurements and specifics that most guides leave out.
Before You Do Anything: The Nail Hole Question
A lot of renters avoid the walls entirely because they’re scared of any hole at all. Here is something worth knowing before we get into methods: according to legal guidance reviewed by a licensed attorney at Deposit Deadline, small nail holes from standard picture-hanging nails are classified as normal wear and tear in the vast majority of states. Courts consistently rule that landlords cannot charge for the tiny holes left by a standard picture hook. The holes that get you in trouble are large anchor holes, TV mount brackets drilled into drywall, and anything over about a quarter inch.
This doesn’t mean you should nail everything and ignore your lease. Read your specific lease, use good judgment about quantity, and patch anything you make when you move out (lightweight spackle and a putty knife, about $8 total, takes ten minutes). But if your lease simply says “no modifications” or “restore to original condition,” a few small picture hooks in normal locations are almost certainly covered under wear and tear. The fear of any hole at all is usually bigger than the actual risk.
That said, everything in this article works without a single nail. So if your landlord is explicit, or you just want zero risk, every method below has you covered.
The One Measurement That Changes Everything
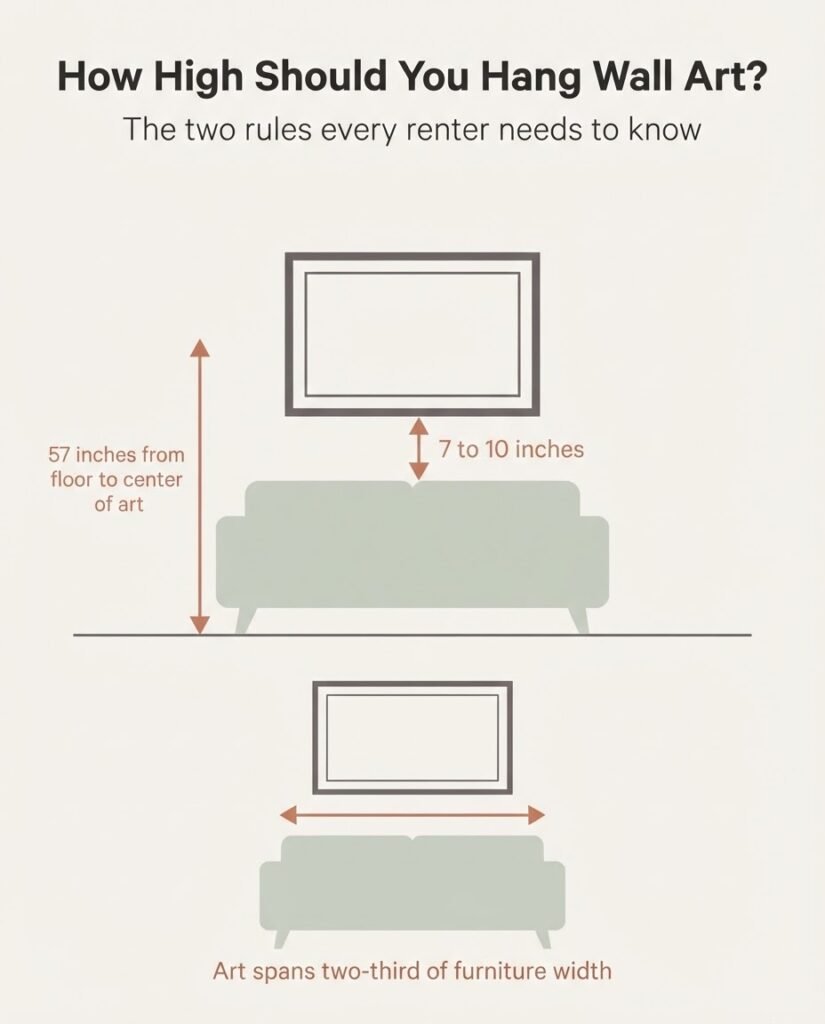
Before we talk about specific ideas, I want to give you the one rule that makes any wall art look intentional rather than randomly slapped up. Hang the center of your artwork at 57 inches from the floor.
This is the standard that museums and galleries use because 57 inches is approximately average eye height. Apartment Therapy walks through exactly why this works and how to measure it out even if your frame uses a wire hanger. The short version: measure 57 inches up from the floor, make a light pencil mark, and that’s where the middle of your artwork goes. Not the top, the middle.
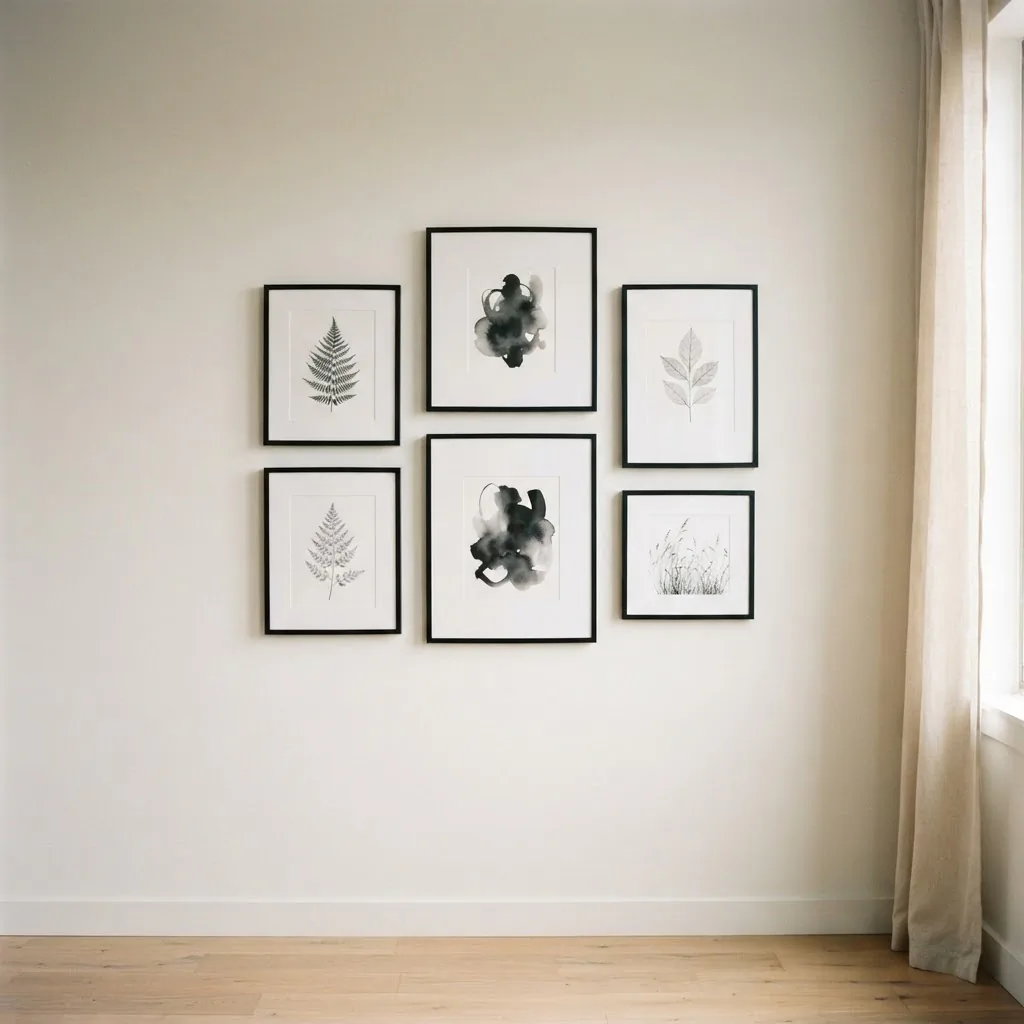
The rule has one adjustment for furniture. When you’re hanging art above a sofa, console table, dresser, or headboard, the bottom edge of the frame should sit 7 to 10 inches above the top of the furniture. And the piece itself (or the full gallery grouping treated as one unit) should span roughly two-thirds of the width of the furniture below it. Wider furniture needs wider art. A narrow 16-inch print centered over a 72-inch sofa will look lost and small no matter how pretty it is.
These two measurements, 57 inches on center and the two-thirds width rule, will do more for how your wall art looks than any specific product you buy.
Method 1: Command Picture Hanging Strips
This is the workhorse of renter wall decor, and it genuinely works when you use it correctly. The key word there is correctly, because there’s a right way to use these strips that most people skip, and that’s why things fall.
The official 3M Command weight guide breaks down capacity by strip size: small strips hold up to 1 pound per pair, medium strips hold up to 3 pounds, and large strips hold up to 4 pounds per pair. You use multiple pairs together to scale up, so two pairs of large strips can theoretically hold 8 pounds. Most basic poster frames and canvas prints are well within range. A heavy framed mirror or thick wood sign is where you need to either add more pairs, choose a different method, or opt for a real wall hook in a stud.
The removal step is where people damage walls. You do not pull the strip outward from the wall. You grab the pull tab and stretch it straight down, slowly, parallel to the wall surface, until it releases. The step-by-step removal guide on Command’s site is worth a quick read before you start. One more thing: after applying the strips to a clean, dry wall, wait a full hour before hanging anything. That rest period lets the adhesive reach full strength and is the step everyone skips in their enthusiasm.
Honest note: Command strips work beautifully on smooth, painted drywall. They are less reliable on textured walls, on freshly painted surfaces (paint needs 30 days to fully cure), and in humid spaces like bathrooms. On textured walls, the strip contacts only the raised peaks of the texture instead of the full surface, which reduces holding power.
Method 2: Picture Ledge Shelves
This is my favorite renter-friendly wall art solution for anyone who wants a gallery but doesn’t love the idea of measuring out a dozen separate hanging spots. A picture ledge is a shallow shelf, usually 1.5 to 2 inches deep, where frames lean rather than hang. You can swap art in and out without touching the wall at all.
IKEA’s MOSSLANDA picture ledge range is the most accessible starting point, with ledges available in 21-inch and 45-inch lengths, typically priced between $8 and $15. You mount the ledges themselves with screws (two small screw holes per bracket is the standard installation), and then everything that sits on top is completely interchangeable. The ledge holes are small and easily patchable at move-out. Once you have the ledge up, you can rotate prints seasonally, add postcards, lean a small mirror, mix frames with a small plant, or refresh the whole look for the cost of a printed photo.
Stagger multiple ledges at different heights along a large wall for a layered, gallery-like effect.
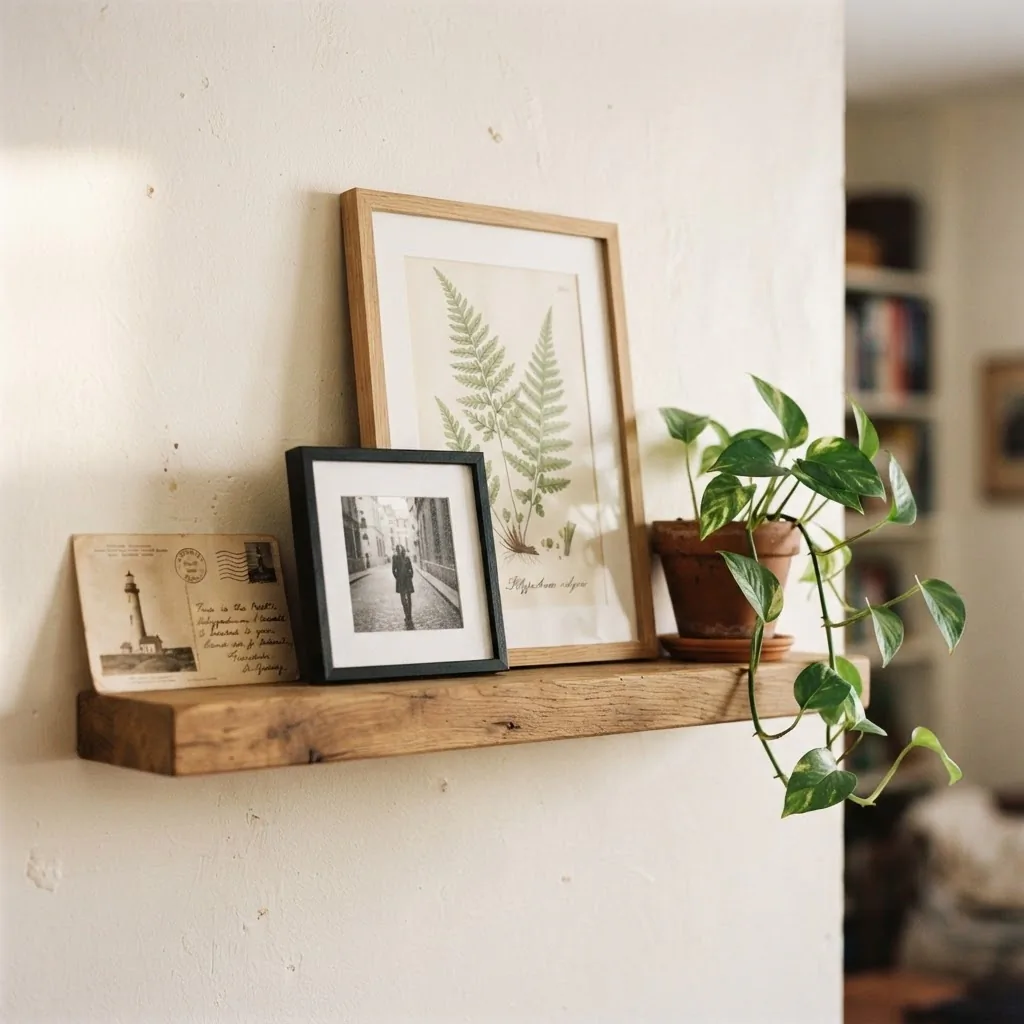
The lowest ledge doesn’t need to be high up. Closer to the floor with tall frames leaning on it can look very intentional in a bedroom.
Method 3: Leaning Art
Leaning art directly against the wall, on the floor, on a shelf, on a console, or on a mantle, is one of the easiest and most relaxed-looking decor moves you can make, and it requires zero hardware. A large canvas or framed print leaning on the floor against a wall next to a plant or a stack of books looks effortlessly styled. A small frame leaning on a shelf looks more considered than hanging.
The styling principle is layering. Rather than one frame leaning alone, which can look unintentional, layer a large piece with something smaller in front of it. A big linen-matted print leaning against the wall with a smaller framed photo leaning on its base, and a little vase or trailing plant tucked in at the side, creates a moment that reads as styled rather than abandoned.
To keep larger leaning pieces from sliding, a small dot of removable museum putty or non-slip furniture pads between the frame and the wall works well without marking either surface.
Method 4: Peel-and-Stick Removable Wallpaper
A single accent wall behind your bed or sofa can completely change the personality of a room, and removable wallpaper is the most dramatic impact you can get without any permanent alteration. Done well, it looks like a real design choice. Done on the wrong wall, it can peel and pull paint.
The honest renter guidance: peel-and-stick wallpaper works beautifully on walls with eggshell, satin, or semi-gloss paint finishes. It is risky on flat or matte paint because the adhesive can pull the paint during removal. If you’re not sure what finish your rental walls have, test a 6-inch sample piece in a hidden spot (behind a door, behind furniture), leave it 48 hours, and peel it slowly. Clean removal means you’re fine. Paint peeling with it means that wall needs a different approach.
The complete renter’s guide from EazzyWalls covers wall prep, installation, and safe removal in detail and is worth reading before you order anything. Two key facts: new paint needs at least 30 days to fully cure before you apply wallpaper over it, and slow, angled removal (pulling at 45 degrees, not straight out) is the difference between a clean peel and a damaged wall.
One more practical note: if your landlord is skeptical, ask for permission in writing, even a quick text or email.
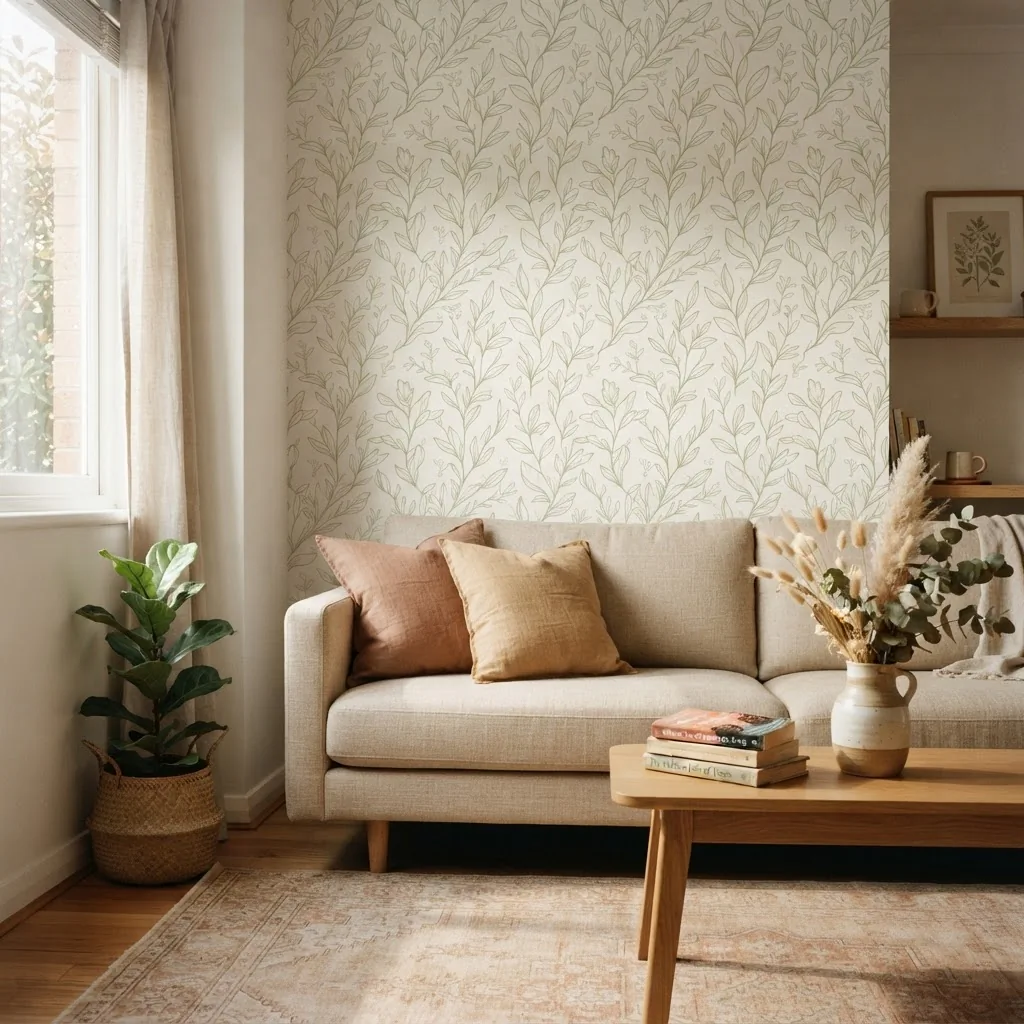
That paper trail protects you at move-out if there’s any dispute.
Method 5: Fabric Tapestries and Textile Wall Hangings
Fabric on walls is one of the oldest and most genuinely renter-friendly decorating moves there is. A large woven tapestry, a macramé hanging, a piece of vintage fabric in a clip frame, a kantha quilt hung on a wooden dowel. Textiles add warmth, texture, and sound-absorbing softness to a room in a way that a framed print never quite does, especially in small spaces that echo.
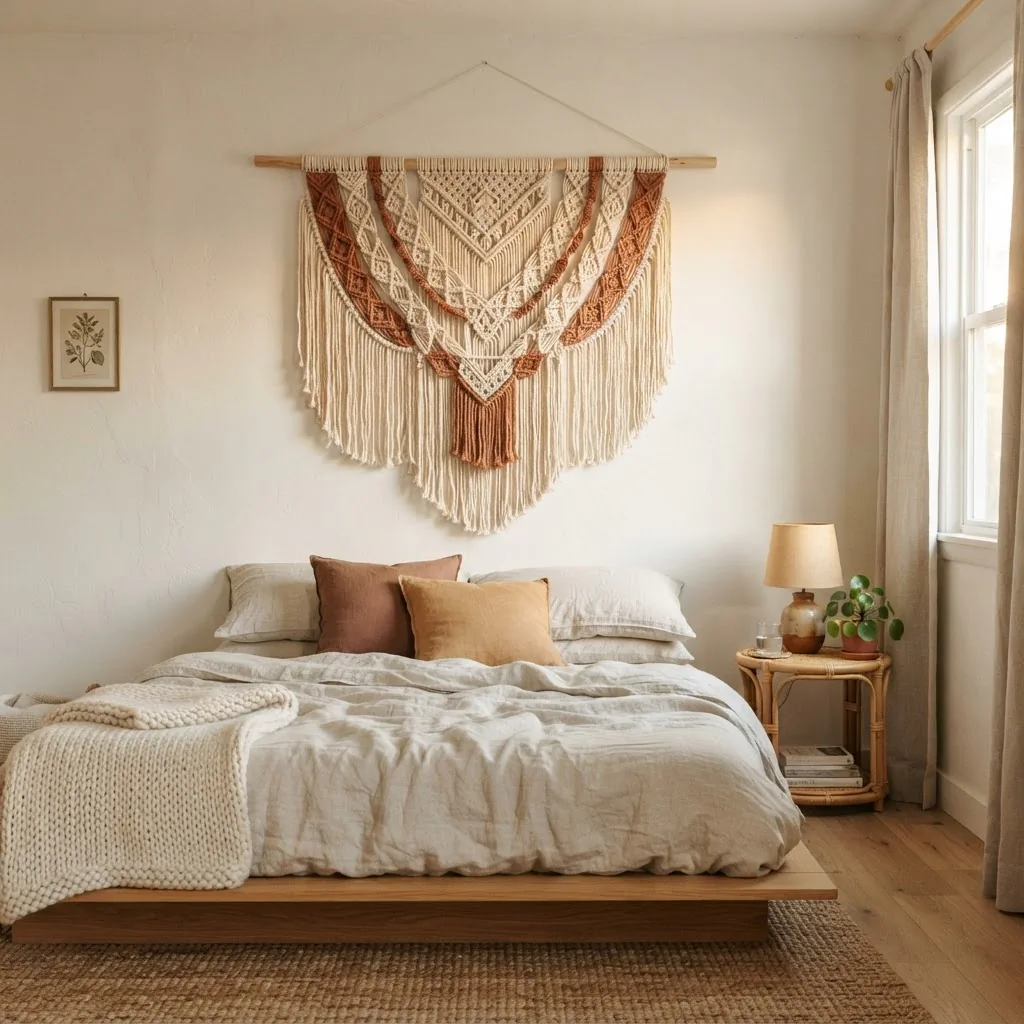
A tapestry hung with two small Command hooks (within their weight limit) or a tension curtain rod placed across a wall niche covers a lot of visual space with minimal hardware. For a wider tapestry, the trick is using a wooden dowel threaded through a sewn pocket or looped through the top edge, then hung from two hooks. The dowel distributes the weight evenly and keeps the tapestry from sagging in the middle.
Budget-wise, fabric wall hangings have a wide range. Woven tapestries from Etsy and small makers typically run $25 to $80 depending on size, and thrift stores are genuinely excellent hunting grounds for vintage quilts, woven blankets, and embroidered textiles that look intentional and interesting at a fraction of retail.
Method 6: Washi Tape Wall Art
Washi tape is a Japanese paper tape that comes in hundreds of colors and patterns, and it’s been used for renter-friendly wall art for years. Used well, it can create geometric shapes, faux frames around paper prints, grid patterns, or even a full accent wall of color-blocked rectangles. A roll costs $3 to $8.
The honest caveat: true washi tape is designed to release cleanly from most surfaces. In practice, some users find it pulls paint from older or flat-painted walls, especially if left up for a long time. The risk is lower than adhesive hooks or strips, but it’s not zero. If you want to use washi tape on your walls, test a small piece in a hidden spot for a week before committing to a larger design. The less time it stays on the wall, the lower the risk.
For making the tape look intentional rather than craft-project-y, the most effective approaches are clean geometric shapes (triangles, rectangles, a simple grid), using a single accent color or two that match the room’s palette, and a level so the lines are actually straight. Ruler-straight tape lines look designed. Wonky lines look rushed.
Method 7: Floating Frames and Clipboards
A floating frame, the kind where the glass sandwiches the art without a deep mat, is one of the sleekest ways to display prints and photos on a light budget, and the frames themselves are easy to hang with a single Command hook. An 8×10 floating frame typically runs $12 to $20.
A more relaxed version of this: a simple clipboard hung on a Command hook. You can swap the art inside in about five seconds, which makes it perfect for seasonal refreshes, a rotating collection of postcards, or displaying kids’ drawings you actually want to see. A set of three mismatched clipboards hung at slightly different heights looks deliberately casual in a kitchen, office, or entryway.
Method 8: Mirrors as Wall Art
A mirror does everything a piece of art does in terms of covering wall space and creating a focal point, and it also reflects light, which makes a small room feel bigger and brighter. For renters and small-space dwellers, this is genuinely worth a bigger portion of the wall-decor budget than a single print.
A large round mirror hung with Command strips (check the weight, as heavier mirrors need proper wall anchors or a furniture placement lean), or leaned on the floor next to a plant, or hung from a picture rail with a clip, adds architectural presence without any drilling. Vintage and thrift store mirrors are often the best finds here. An ornate antique gold mirror from a thrift store for $15 does far more work on a wall than a new $15 mass-market print.
Method 9: Digital Prints in Simple Frames
The cheapest-looking affordable art often comes from very small prints crammed into frames that are too big for the room. The fix is both simple and inexpensive: buy a digital download, print it at the right size for your space, and put it in a frame that fits the room’s scale.
Digital art prints from Etsy, Society6, and similar marketplaces typically cost $5 to $15 for a downloadable file. Take that file to a local print shop or use a printing service online and get a clean, properly sized print for a few dollars more. A 16×20 print in a simple white or natural wood frame can look genuinely gallery-quality if the art itself is good and the size is right for the wall. For sourcing ideas, Architectural Digest’s guide to affordable art online covers a wide range of print-on-demand and affordable original art sources at different price points.
For a cohesive look on a tight budget, the easiest trick is to pick a single color family and get two to three prints that share it. They don’t need to be from the same artist or even the same style. Shared color does the cohesion work.
Method 10: Baskets, Woven Plates, and Decorative Objects
Woven wall baskets, decorative ceramic plates on plate hangers, and natural fiber objects hung in a cluster are among the most underused renter-friendly wall art moves. They add texture and dimension that a flat print never can, they’re entirely on-trend across a range of styles from coastal to cottagecore to boho, and they’re endlessly thrift-able. A cluster of three to five baskets in different sizes, hung at slightly different heights and distances, looks like a considered design choice.
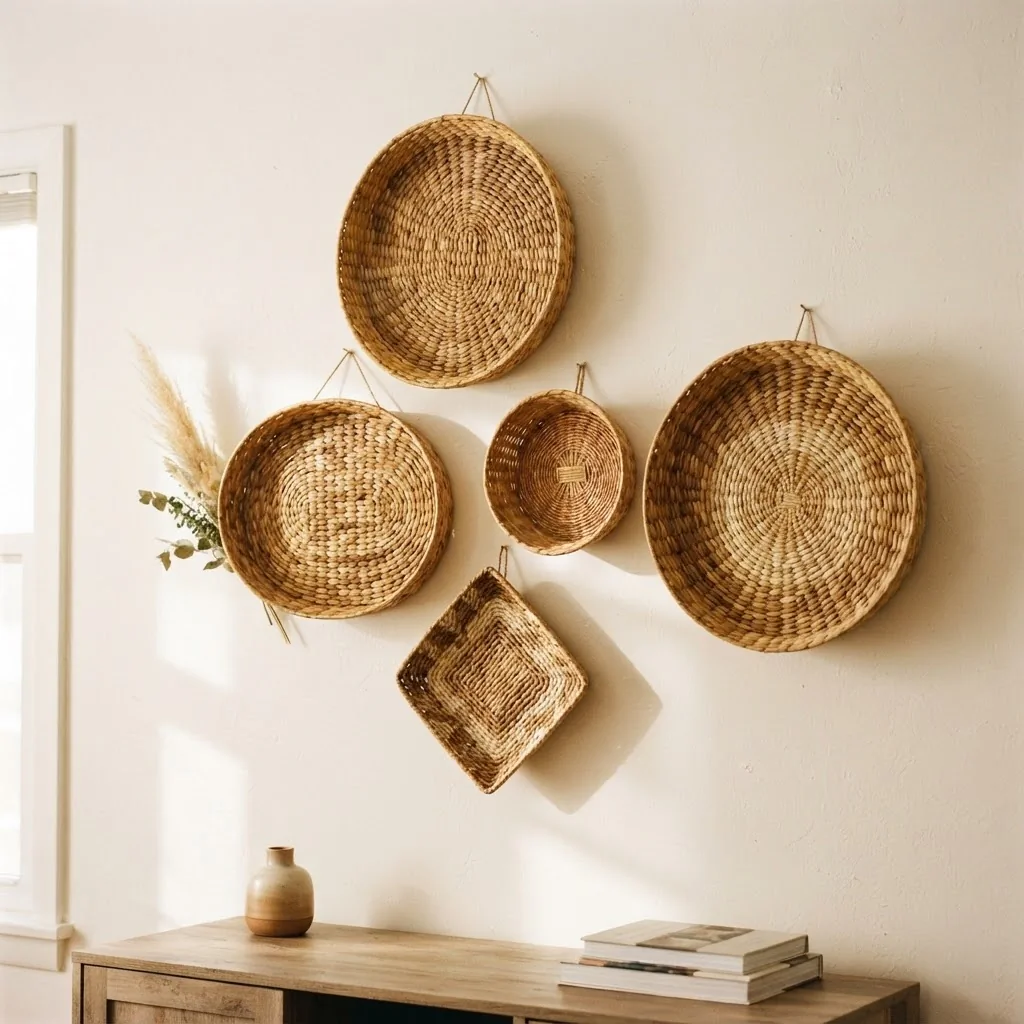
Basket wall clusters also have the advantage of hiding a big expanse of wall without requiring perfectly measured spacing. The slight imprecision of organic shapes actually works in your favor. Hang them with small Command hooks or simple picture hooks, and if you go the Command route, check the weight and use the right hook size for each basket.
Method 11: String Lights and LED Neon Signs
String lights, especially warm-white café-style lights or warm globe lights, hung along a wall or above a bed, act like wall art made of light. They are genuinely transformative in a small bedroom or living room corner, and they hang from Command hooks with zero damage. The warm glow changes the whole mood of a room after dark without touching a single wall permanently.
For a slightly bolder look, LED neon-flex signs (the safer, flexible, cool-to-touch version of neon, not actual glass neon tubing) have come way down in price and add personality to a home office, bedroom, or reading nook. They typically plug in and hang from a single hook or adhesive mount.
The Five Budget Art Sources Worth Knowing
Etsy: handmade prints, digital downloads, and vintage finds all in one place. Thrift stores and estate sales: the single best source for real frames, mirrors, and original art at a fraction of retail. Facebook Marketplace and local buy-nothing groups: you’d be surprised how often people give away framed art they no longer want. Society6 and Redbubble: print-on-demand with a wide range of artist styles and affordable price points. IKEA’s art print section: simple, clean, inexpensive, and well-suited to minimalist and Scandinavian-adjacent aesthetics.
A note on thrift-store art: you are allowed to change the art inside a found frame. You’re allowed to paint a wood frame white or black to match your room. The frame is just a frame. What matters is the final object on your wall.
What to Actually Skip
Cheap canvas art from discount websites: it often looks thin and low-resolution in person, especially at larger sizes. It’s the renter decor equivalent of fast food. Fine once in a while, but not a real investment.
Heavy-framed mirrors or signs hung with just one or two Command strips without checking the weight limit: this is how things fall. Always check the weight, use the right number of strips, and when in doubt, lean it instead of hanging it.
Peel-and-stick anything on freshly painted walls or flat/matte paint without testing first. The risk is real and the damage is not pretty.
Washi tape as a long-term solution on older or flat-painted walls. Short-term seasonal decor, fine. Month six, test it first.
A Final Note
The most beautiful wall I have personally ever leaned against in a rental apartment cost almost nothing to put together. A few thrifted frames, some printed black-and-white photos, a picture ledge from IKEA, a woven basket from a flea market. None of it matched perfectly. All of it looked like it had been collected by someone with a real life and real taste.
Renter-friendly doesn’t mean temporary-looking. It means thoughtful. It means knowing which methods to use, using them correctly, and choosing things that are actually good rather than just convenient. Your walls can look like home. They can look like you. And they can do it without costing you your deposit.
Start with one wall. Pick one method from this list that actually appeals to you. Get the proportions right. Then stop and live with it for a week before adding more. Calm rooms are almost always built one good decision at a time, not all at once.