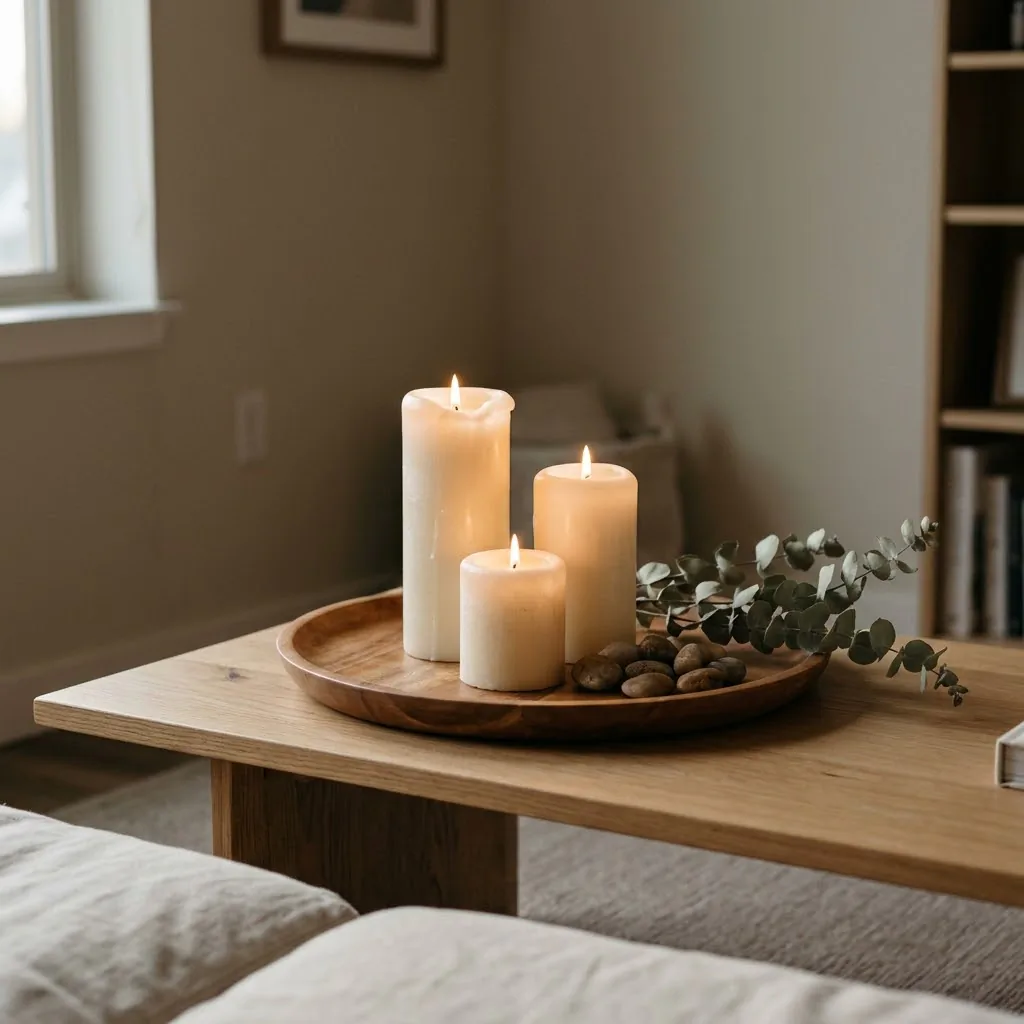
Living Room Candle Decor Ideas That Look Calm, Not Cluttered

There is a version of candle decor that looks like a spa, and a version that looks like someone knocked over a gift shop. The difference is not the candles themselves. It is the choices around them: how many, what heights, where they sit, and when to stop. I have lived in enough small rentals to know that a few well-placed candles can make a room feel genuinely cozy in about ten minutes. A dozen randomly placed candles can make it feel anxious and cluttered. This guide is about knowing the difference.
Whether you have a big open living room or a tiny apartment where the “living room” is also the dining room and the office, these ideas are meant for real spaces and real budgets. Some of them cost almost nothing. All of them are reversible, which matters if you rent and want your deposit back.
Why Candles Work (And What They Actually Change)
Before the ideas, it helps to understand why candles do what they do. When you light a candle, or even a good flameless one, you are adding a warm light source close to eye level, and that alone changes the quality of a room. Overhead lighting is functional. Candlelight is human. It softens shadows, creates small focal points, and gives the eye somewhere interesting to land without demanding attention the way a TV does.
In a living room, this matters more than in almost any other space. It is the room where you are supposed to relax, but most living rooms are lit with one overhead fixture or a pair of lamps that do not quite fill the corners. A few candles on the coffee table or a bookshelf tuck warm light into the lower half of the room, and suddenly the whole thing feels layered and intentional.
The One Rule That Makes Candle Styling Work: Edit First
I am going to say the less exciting thing first, because it saves more people than any specific idea does: more candles are almost never the answer. Candles look their best when there is space around them. The room should be the backdrop, not a competition.
Before you add a single candle, look at the surface where it is going and remove one thing. Clear a section of the coffee table. Slide the books to one end of the shelf. Give the candles room to breathe. Calm decor is not about filling space. It is about choosing what earns its place in that space.
Once you have edited, a few focused placements will do far more than ten candles spread thin across every horizontal surface in the room.
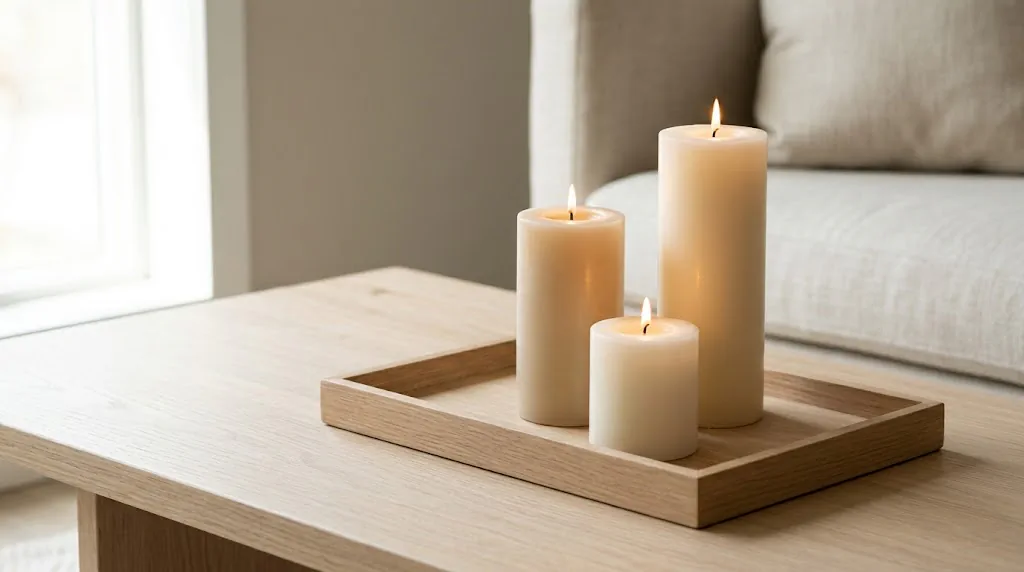
Idea 1: Group Three Pillar Candles on a Tray (The Classic for a Reason)
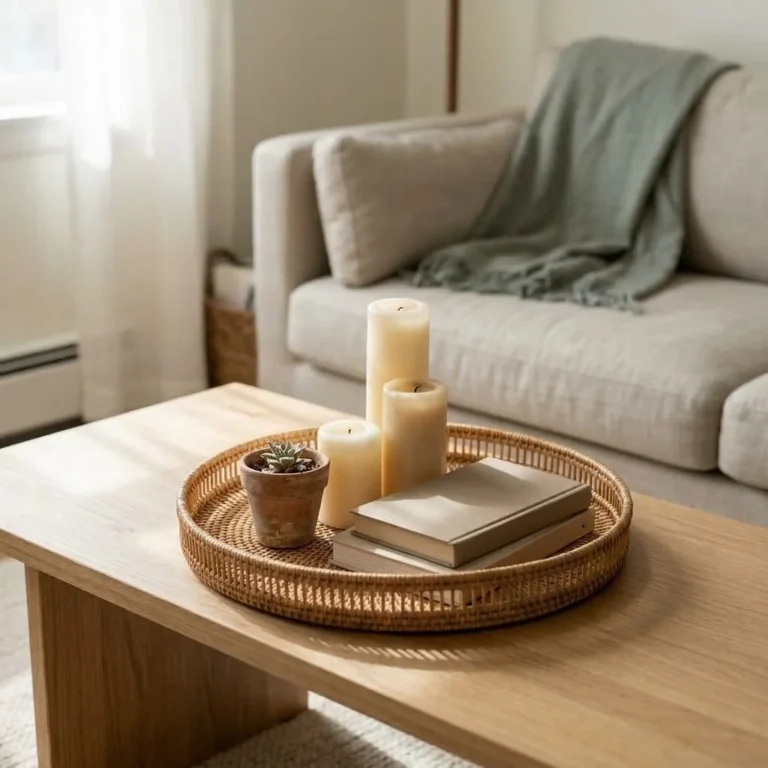
The coffee table is the heart of a living room, and a tray with three pillar candles at varying heights is the simplest way to make it look styled rather than just furnished. Odd numbers work better visually than even. Three candles feel more natural and balanced than two or four. The height variation, something like a 6-inch, a 9-inch, and a 3-inch pillar, keeps the eye moving rather than landing on a flat, static arrangement.
The tray matters for two reasons. First, it contains the arrangement visually and makes it look intentional. Second, it catches any drips and protects your surface. A wooden tray, a marble slab, or even a simple woven tray from a home goods store works well. If you rent and your coffee table is not yours, the tray is extra helpful because it sits on top of the surface without touching it directly.
For budget: basic pillar candles run about $8 to $15 each, and simple tray options start around $12 to $20. Thrift stores are genuinely good for both.
Idea 2: Use the Windowsill for Evening Light
A windowsill is one of the most overlooked flat surfaces in a living room. During the day it holds plants or nothing. In the evening, a row of three small votives or a pair of tealights in simple glass holders catches and reflects the window glass beautifully. The reflection doubles the light and makes the window feel like a lantern rather than a dark rectangle.
If your lease restricts where you place things on windowsills, or if you have pets or kids in the house, this is a perfect spot for flameless LED candles. The flicker effect on modern flameless candles is genuinely convincing in low light, especially near glass.
The U.S. Fire Administration recommends considering flameless candles as the safest option for homes, particularly for people with children, pets, or in spaces where a candle could easily be knocked over. Worth knowing, not as a scare tactic, but as a real option that looks just as good.
Idea 3: Create a Faux Fireplace Moment
Not every living room has a fireplace. Mine never did in any of the rentals I decorated. But you can absolutely create the same cozy focal point with a cluster of candles at floor level or on a low platform.
A fireplace hearth feeling comes from grouping candles at three different heights in a contained area. Use a low lantern, a tall pillar in a simple holder, and a few votives around the base. Place them on a flat-bottomed tray or a small slate tile so they have a defined footprint. Against a blank wall or inside a non-working fireplace opening, this creates a warm focal point that reads as intentional and cozy.
The Spruce has a solid roundup of real candles in fireplace arrangements if you want to see how different heights and groupings look in actual fireplaces or decorative openings.
Idea 4: The Bookshelf Candle (The Detail That Elevates a Whole Shelf)
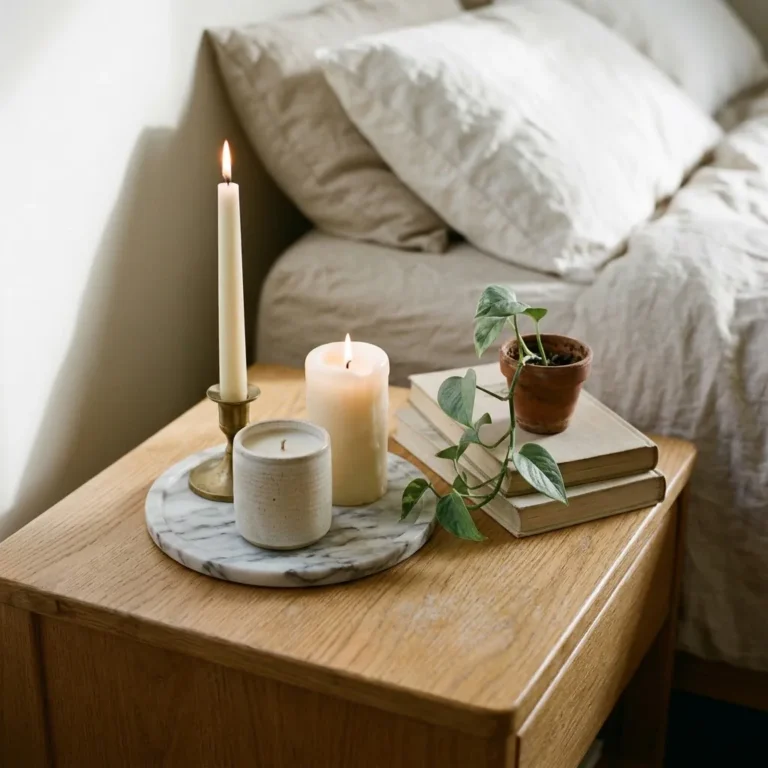
One taper candle in a simple brass or matte black candlestick holder on a bookshelf does more for the room than you would expect. It adds height, a touch of warmth, and breaks up the visual monotony of book spines without adding clutter. You are not trying to turn the shelf into a candle display. You are just adding one point of light and vertical interest to a surface that otherwise reads as flat.
The key is restraint. One or two candlesticks on a shelf, not five. Let the books and a plant or a small object do the rest of the work.
If your shelves are close to books or paper, make sure to trim your wick before every burn and never leave the candle unattended. Most candle manufacturers, including detailed guides like the Yankee Candle candle care page, recommend trimming wicks to the length specified on the label, typically around 1/4 inch, before every single lighting. It keeps the flame smaller, cleaner, and more controllable, and it is the single most overlooked step in getting a candle to look as good as it burns.
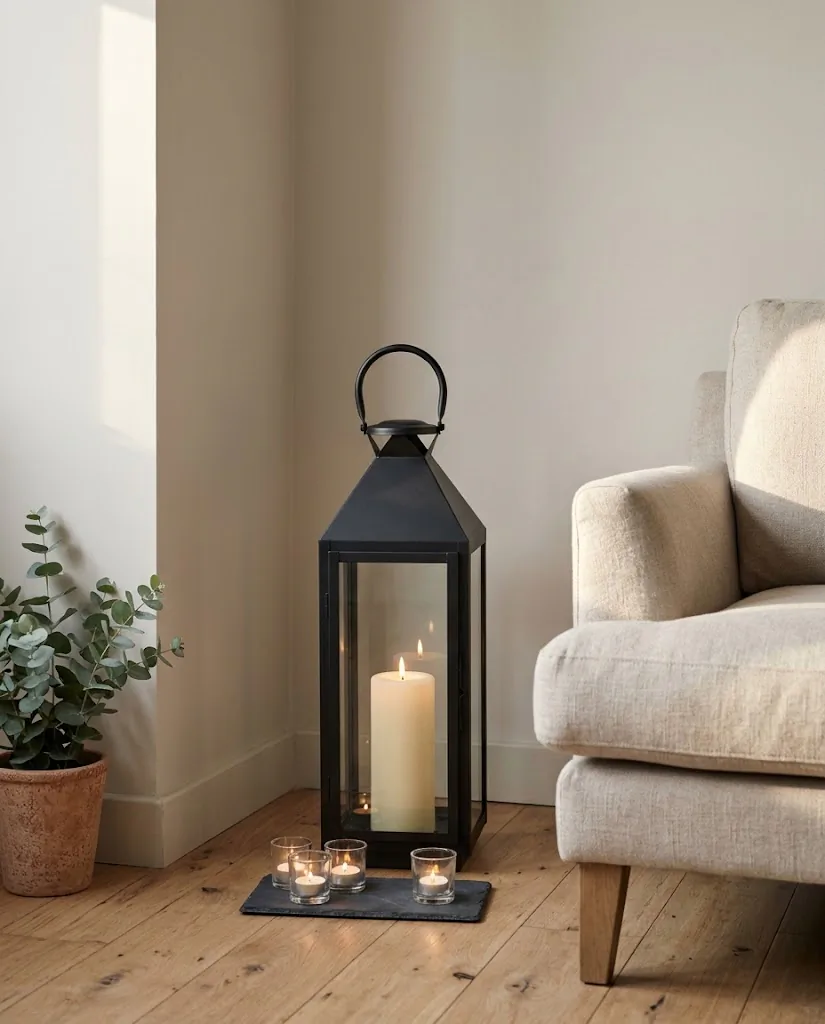
Idea 5: A Lantern on the Floor
Floor lanterns are one of the most rental-friendly living room additions I know. They require no drilling, no hanging, no damage to anything. You just set them down. A large lantern with a pillar candle inside or a flameless insert placed in a corner or next to a sofa creates a soft glow at ground level that warms the whole room.
For small living rooms specifically, a floor lantern also adds height in a way that does not make the room feel more crowded. Because it is tall and narrow, it takes very little floor space while drawing the eye upward. Look for lanterns in matte black, antique brass, or natural wood. These three finishes go with almost every neutral wall color and most furniture styles.
Budget range: simple floor lanterns start around $20 to $35 at most home goods stores, and thrifted versions are common. The candle inside can be flameless, which also means you do not have to worry about the lantern being close to a curtain or sofa.
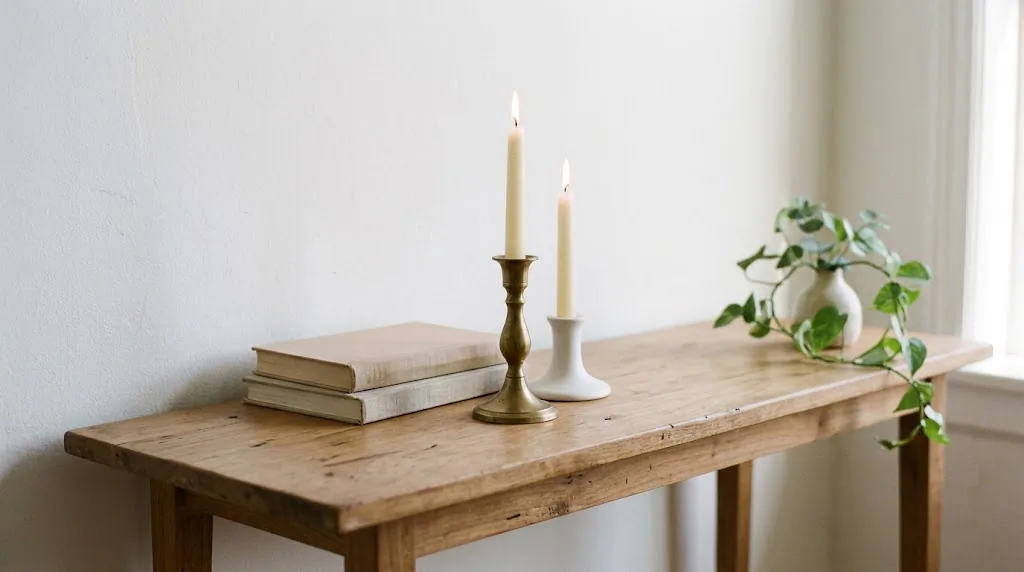
Idea 6: Taper Candles in Candlestick Holders for a Modern Look
Tapers are having a moment right now, and honestly they deserve it. A pair of tall taper candles in mismatched candlestick holders, one brass, one ceramic, at slightly different heights, looks collected and interesting on a side table or console. It is one of those arrangements that looks expensive and like you have had good taste for a long time, even if you put it together this weekend.
Mix the holder materials rather than matchy-matchy matching. A brass candlestick next to a simple white ceramic one looks curated. Two identical holders in a row looks like a store display.
Taper candles tend to drip more than other types, so always use a holder with a drip catcher or place a small dish underneath. If you love the look but have a rental surface you cannot risk getting wax on, flameless taper candles are available in sets and look very convincing in the right holders.
Idea 7: Cluster Small Votives for Maximum Warmth, Minimum Cost
Votives and tealights are the most affordable way to add a lot of candlelight fast. A cluster of eight to twelve tealights in simple glass holders on a coffee table, tray, or mantel shelf creates a lot of warm light for very little money. Tealight packs of 50 run around $5 to $6 at most big-box stores. Basic glass votive holders are often $2 to $4 each.
The trick with small candles is to group them closely enough that they read as one warm mass of light rather than a scattered collection of tiny individual flames. Touching or nearly touching is fine. Put them on a mirrored tray if you want to double the glow effect without doubling the candles.
Just know that tealights burn out in about 3 to 5 hours each, so they are more of an “evening ritual” addition than a long-term display piece. They work beautifully for a Friday night in or a low-key gathering.
Idea 8: Scent With Intention (Less Is More Here Too)
Scented candles are one of those purchases where the instinct is to buy as many good-smelling ones as possible and light them all at once. I have done this. The result was not a cozy living room. It was a headache.
In a small living room especially, one scented candle is usually enough. Two different scents competing with each other will not blend into something beautiful. They will fight. If you love a layered scent experience, use one scented candle and fill the rest of your arrangement with unscented pillars or flameless options.
Scent choice also varies by wax type. Soy candles have a gentler scent throw and burn cleaner, which makes them a good choice for small spaces or for anyone sensitive to fragrance. For reference on how different waxes perform, CandleScience’s wax guide is a solid, plainly written resource that explains the actual burn and fragrance differences between paraffin, soy, and beeswax without trying to sell you on one specific product.
Idea 9: The Mantel Moment (Even Without a Real Fireplace)
A floating shelf at mantel height, or even a console table styled as a faux mantel zone, gives you a great high surface for candle styling. The approach here is asymmetry. Instead of centering everything evenly, place your tallest element, a candlestick or a lantern, off to one side, and let the rest of the arrangement trail down and across. This creates a sense of natural flow rather than forced symmetry.
On a mantel or console, a combination that tends to work: one tall taper or pillar candle, one medium-height object (a small vase, a plant, a framed photo), and one low cluster of votives or a small grouping of tealights. The three-point arrangement gives the eye a clear path without being rigid.
If you are decorating a mantel around a real wood-burning or gas fireplace, follow the clearance rule consistently: keep any candle or holder at least 12 inches from the actual heat source and from any fabric, paper, or hanging decor nearby.
Idea 10: The Mirror Trick
Place a candle in front of a mirror and you effectively double your candlelight. This is genuinely useful in a living room where you want more warmth without more candles. A round mirror leaning against a wall with a small cluster of votives or a pillar candle in front of it creates a lovely, layered focal point that looks far more intentional than its actual cost or effort level.
This works especially well in darker apartment living rooms where natural light is limited. The mirror bounces both daylight and candlelight around the room and makes the space feel larger and warmer at the same time.
Idea 11: Seasonal Swaps on a Real Budget
One of my favorite strategies for any rental living room is keeping the bones simple and changing one or two small things by season. Candles are perfect for this because they are inexpensive to replace and you can shift the mood of the whole room with just a color and scent change.
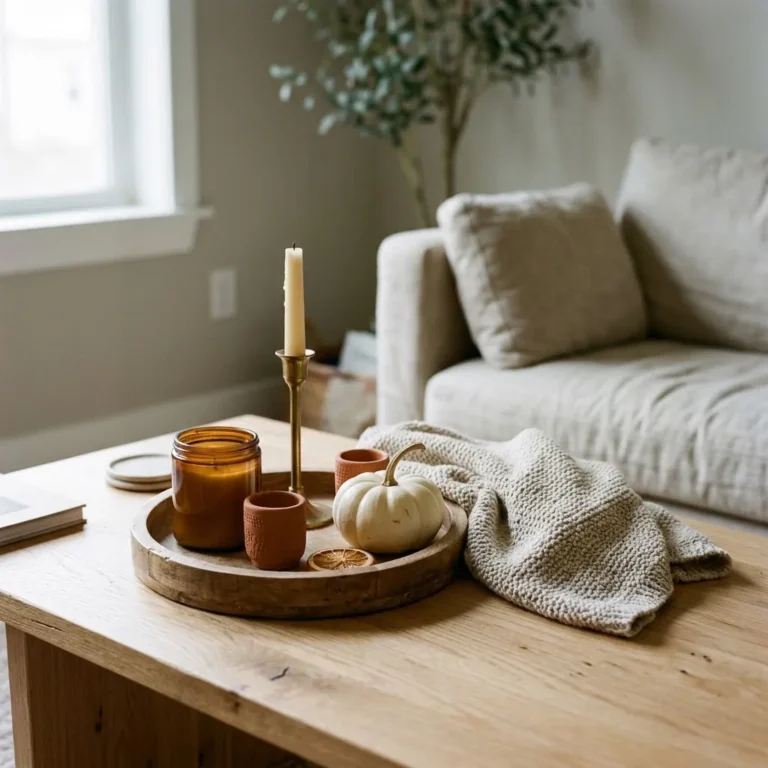
In fall: amber, rust, or deep green candles with a warm woodsy or spiced scent. In winter: ivory and cream candles with cedar, fir, or vanilla. In spring: light sage, blush, or white candles with a clean linen or floral scent. In summer: keep it minimal, fewer candles, cooler whites and naturals, or skip burning them entirely and just use the holders with flameless inserts for the visual warmth.
You do not have to buy new candles every season.
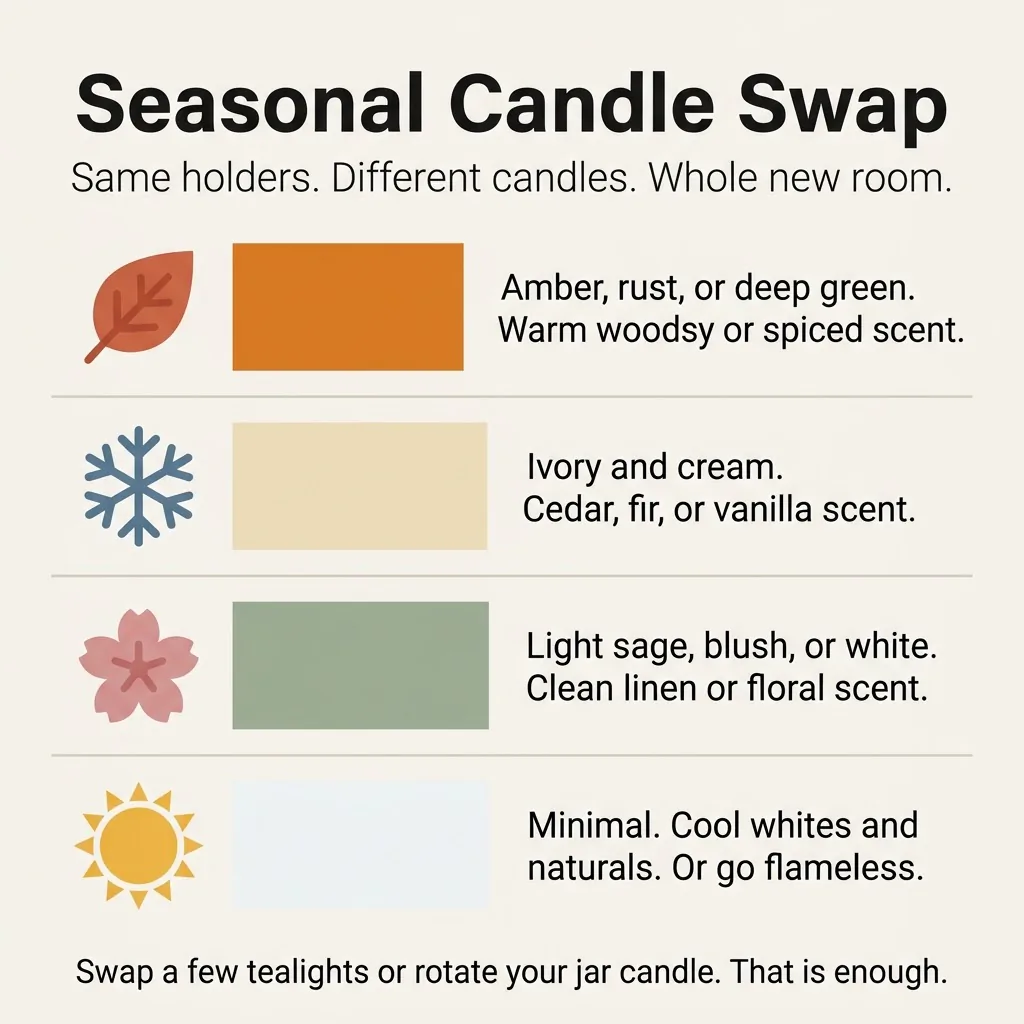
Swapping in a few new tealights, rotating which jar candle sits on the coffee table, or changing a candlestick color is enough to shift the whole feel of a room.
Idea 12: Flameless Candles Are Not a Compromise
Let’s set this straight: flameless LED candles are not the sad second-best option. For renters in buildings with no-open-flame policies, for homes with young kids or curious cats, or for anyone who wants the look of candlelight on a shelf full of books without the anxiety, flameless candles are genuinely the right choice.
Modern flickering LED candles are much more realistic than they were even a few years ago. The better ones have an irregular, warm flicker that reads as a real flame in low light. They work on timers, which means they can be set to turn on at the same time every evening. They last hundreds of hours on batteries. And they can be styled in exactly the same holders, lanterns, and trays as real candles.
If you are renting and your lease specifically restricts open flames, which is more common in apartment buildings and student housing than people realize, flameless candles are the practical and still beautiful answer. The USFA Candle Fire Safety page specifically recommends battery-operated flameless candles as the safer alternative, not because real candles are impossible to use safely, but because flameless options remove the risk entirely.
Idea 13: Use Candles to Define a Zone in an Open-Plan Space
In a studio apartment or open-plan living room where the living area bleeds into a dining area or a workspace, candles are a surprisingly useful zoning tool. A specific grouping of candles at the coffee table end of the room helps the eye understand “this is the sitting area.” It creates a visual boundary that furniture placement alone does not always accomplish.
You do not need a rug, a room divider, or anything structural to define a zone. A tray of candles anchoring a corner of your sofa table, a floor lantern next to the armchair, and a small cluster on the coffee table all work together to say: this part of the room is for unwinding.
Idea 14: Match Your Holder Finish to Your Room’s Existing Metal Tones
This is one of those small choices that separates a room that feels pulled-together from one that just feels collected. Look at the metal tones you already have in the room: lamp bases, cabinet hardware, curtain rods, picture frames. Then choose candle holders that echo that same finish.
If your lamp is warm brass, a brass candlestick will feel like it belongs there. If you have matte black shelving brackets, a matte black lantern reads as intentional. You do not have to match everything exactly, mixing metals works fine as long as there is a logic to it, but having one dominant finish and occasionally introducing a secondary one looks far more considered than four different metal finishes with no relationship to each other.
Idea 15: A Single Statement Candle in a Thick Vessel
Sometimes one is enough. A large jar candle in a beautiful, thick glass vessel on a side table or console can be a statement piece on its own. No tray required. No grouping needed. Just one candle in a vessel with enough visual weight to hold its own.
This works especially well in minimalist or Scandinavian-inspired living rooms where less is genuinely the point. The candle is the decor. The space around it is part of the design.
For this approach, look for jar candles in neutral-toned or frosted glass, ceramic vessels, or concrete containers. These materials have enough presence to stand alone. Clear glass jars tend to need company because they read as transparent and a little thin when the candle is not lit.
Idea 16: Layer Candles at Three Heights in One Zone
This is the styling technique that makes the biggest visible difference and that almost no beginner knows to do: within any single candle grouping, you want height variation across at least three levels. Something low, around 2 to 4 inches. Something medium, around 6 to 9 inches. And something tall, around 10 to 14 inches or more.
Three heights create depth. They make the arrangement look layered and alive rather than flat.
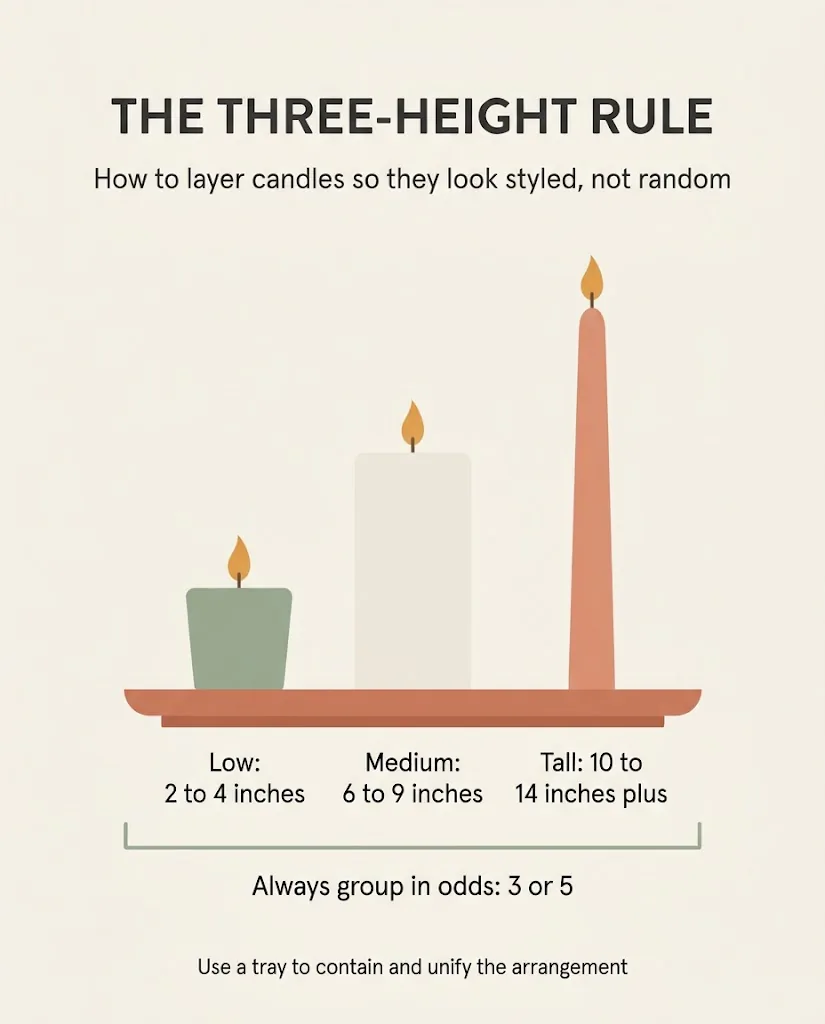
You can achieve this with a combination of a tall taper candle, a medium pillar, and a low votive on a small riser. Or with a floor lantern, a table lantern, and a tealight cluster. The actual candle types matter less than the height range.
Idea 17: Candles on a Tray with Natural Objects
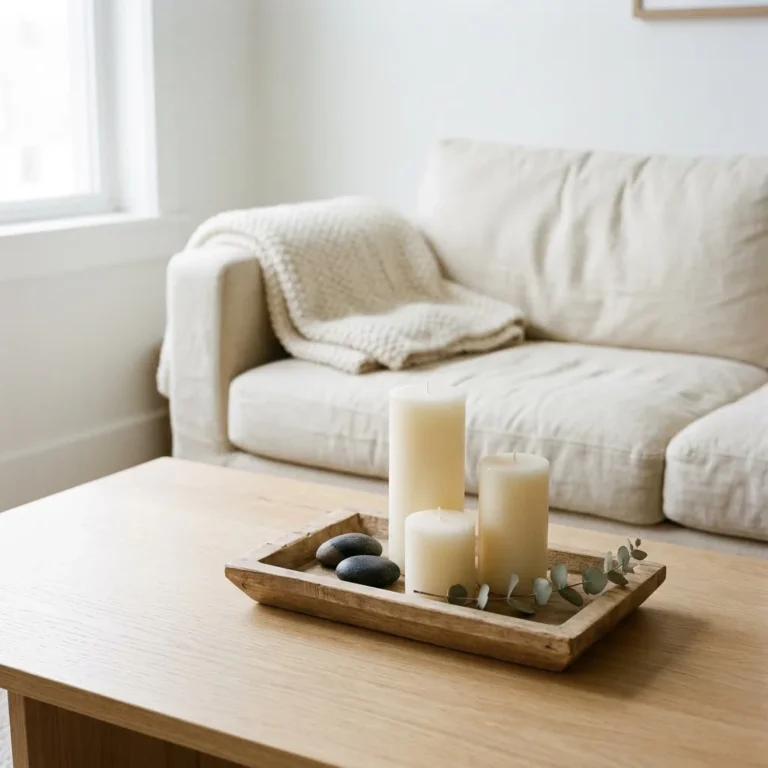
A tray of candles looks better when it has company. Natural objects, a small piece of driftwood, a few smooth river stones, a pinecone in fall, a sprig of eucalyptus, give the arrangement organic texture that feels less “decorating store” and more “this person has taste.” They do not add visual noise the way more candles would. They add a sense of realness.
This is one of the easiest and cheapest ways to style a candle grouping. Most of those natural objects cost nothing if you walk outside once in a while. The rest are $2 at a craft store.
Idea 18: Know How to Buy Well Without Wasting Money
Here is the honest version of candle shopping that most articles skip. Tealights and votives are cheap where they are cheap: buy the basics in bulk. But candle holders are worth a little more attention because they are what you see whether the candle is lit or not. A $3 tealight in a beautiful $8 glass holder looks better than a $20 candle in a cheap plastic base.
Put your money into the holders and surfaces. Save on the candles themselves, especially for tealights and votives that burn out anyway. For jar candles you will burn regularly, a mid-range soy candle in the $12 to $22 range tends to perform as well or better than a premium brand at $45 for most people’s purposes.
When buying any candle, particularly inexpensive imported ones, it is worth knowing that the CPSC enforces a ban on lead-cored wicks and requires candles to meet ASTM fire safety labeling standards. Look for candles with cotton, paper, or wood wicks, and check that the label includes basic safety warnings. If a candle has no safety label at all, that is a skip.
Idea 19: Don’t Light Candles in a Draft
This one sounds like safety advice, and it is, but it is also genuinely a styling tip. A candle that flickers in a draft smokes, tunnels, and burns unevenly, which means the wax pool drips on your tray, the wick gets sooty and mushrooms, and the candle looks messy after two uses.
Keep candles away from open windows, fans, and air vents if you want them to stay looking clean and burning evenly. This is especially relevant in small apartments where the AC vent is often in the ceiling directly above the main living area.
Burn candles no more than four hours at a time. Trim the wick to 1/4 inch before every lighting. These two things alone will make your candles last longer, look better, and perform more cleanly.
Idea 20: For Small Living Rooms, Scale Down the Holders, Not the Ambiance
The single biggest candle styling mistake in a small living room is using holders that are sized for a dining table centerpiece on a tiny coffee table. A large 14-inch hurricane glass on a 24-inch coffee table does not look dramatic. It looks like it belongs somewhere else.
In a small space, the holder should fit the surface. Votives and small pillar candles in simple holders are the right scale for a compact coffee table. A medium lantern, not a large one, works on a small side table. You can still have three heights and a tray arrangement. Just scale the whole thing down proportionally.
More candlelight does not require bigger candles. Ten small tealights in simple glass holders create more warm light than one oversized pillar candle, and they fit a small surface far more naturally.
Idea 21: The Real Safety Basics (Read This Before You Light Anything)
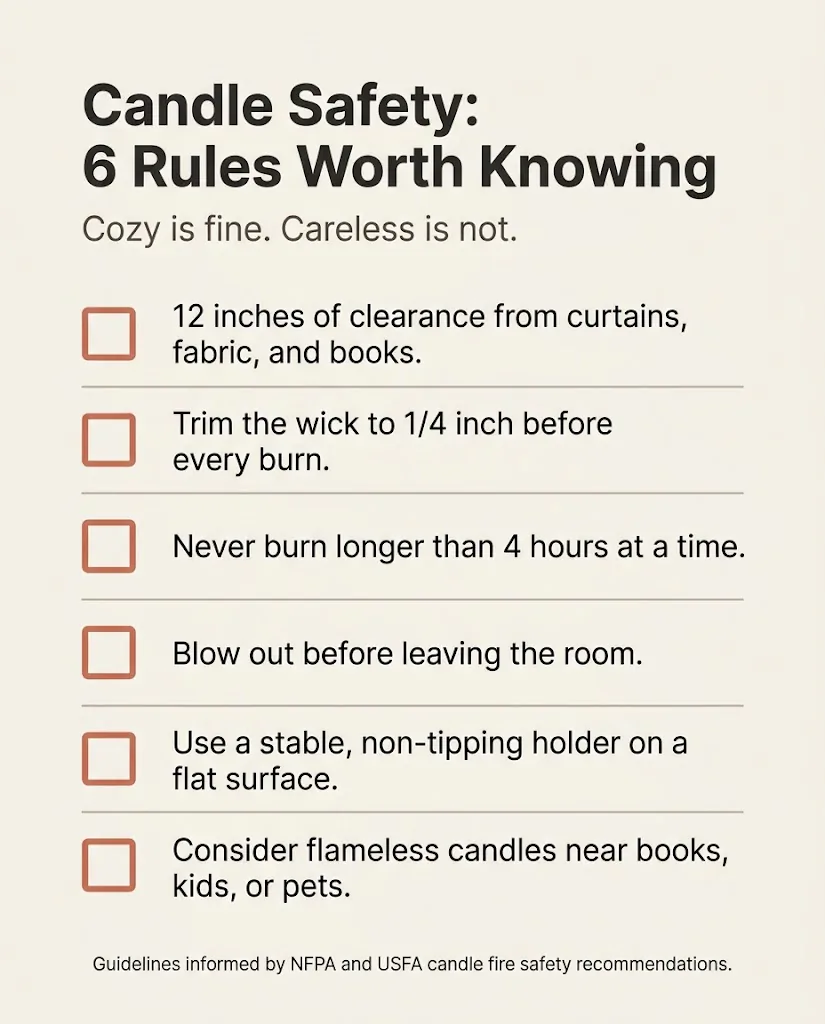
I want to end with this because it belongs in any honest candle decor article, and most of the pretty Instagram roundups skip it. The National Fire Protection Association reports that candles cause thousands of home fires every year, and the most common causes are candles left burning unattended, candles placed too close to flammable materials, and candles that fall or are knocked over.
The practical version:
- Keep every burning candle at least 12 inches from curtains, fabric, books, and any other flammable material.
- Never leave a burning candle in a room you have left. Blow it out before you walk out.
- Do not burn candles in bedrooms if you have any chance of falling asleep with them lit.
- Use stable, non-tipping holders on flat, level surfaces.
- Trim the wick to 1/4 inch before every use.
- Do not burn a candle for more than four hours at a time.
None of these rules ruin the coziness. They are just the basics that let you enjoy candles without worry, which is kind of the whole point.
Putting It All Together
You do not need all 21 ideas in one living room. You need maybe three or four, applied thoughtfully to the surfaces that already exist in your space. One tray arrangement on the coffee table. A lantern in a corner. A candlestick on the bookshelf. Seasonal tealights on the windowsill. That is already a room that feels warm, layered, and intentional.
Candles are one of the simplest, cheapest, and most reversible ways to make a living room feel like home. For renters especially, where you often cannot paint the walls or install new lighting, they are one of the few tools you have that genuinely change the atmosphere of a room. Use that well, and the whole space feels like it belongs to you.