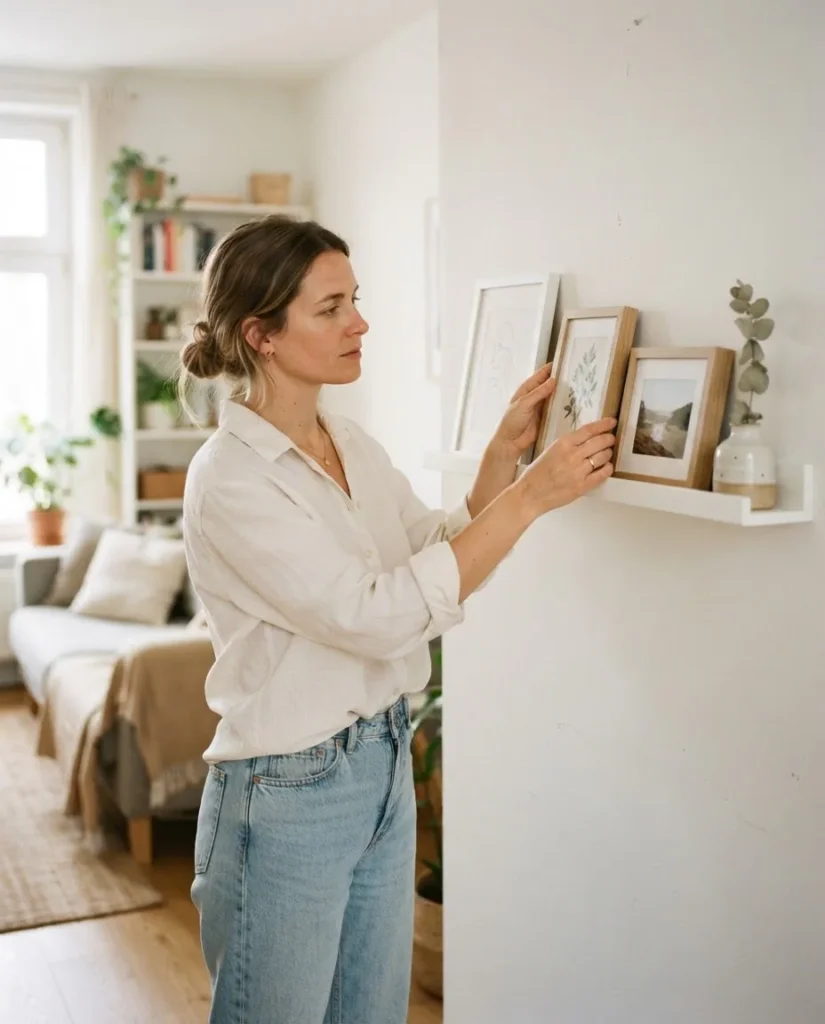
If you’ve ever moved into a new apartment, leaned a framed print against the wall because you weren’t sure what to do with it, and then watched it sit there on the floor for three months, this one’s for you.
I’ve lived that exact experience more times than I’d like to count. Decorating rentals means constantly working around the “but I can’t put holes in the wall” problem, and for a long time I thought that meant my walls had to stay bare. It turns out there are a lot of ways to hang art without touching a nail or a drill, some of them genuinely excellent, some of them fine for lightweight stuff, and a few that are mostly wishful thinking if you have anything heavier than a cardstock poster.
This guide runs through 12 methods from the ones I’d reach for first to the ones worth knowing about but using carefully. I’ll tell you what each method actually holds, what surfaces it works on, roughly what it costs, and how to remove it without taking your wall with it. Because keeping your deposit is half the point.
Before anything else: one clarifying note on small nail holes. According to HUD guidance cited by the American Apartment Owners Association, small nail holes from hanging pictures are typically considered normal wear and tear in a rental. Landlords generally cannot charge you for a few standard picture hooks. That’s useful to know. But plenty of leases explicitly say no holes, plenty of landlords in practice get fussy about it anyway, and some wall surfaces like plaster, wallpaper over drywall, or older painted surfaces can chip badly around even small holes. So going nail-free is either a lease requirement or simply a safer choice. Either way, you have real, workable options.
The Weight Problem: Start Here Before You Pick a Method
One thing that most articles on this topic skip entirely is the weight question, and it’s genuinely the first thing to figure out. Not all art is the same. A small canvas print weighs almost nothing. A 24×30 inch frame with glass can easily weigh 15 to 20 pounds. Picking the wrong method for the weight is how things fall at 2 a.m.
A rough guide: if you can hold a piece of art in one hand comfortably, it’s probably under 5 lbs. If you need two hands to lift it, assume it’s 5 to 15 lbs. If it’s a large framed piece with glass, it’s likely 15 lbs or more. When in doubt, put it on a kitchen scale before you commit to a method.
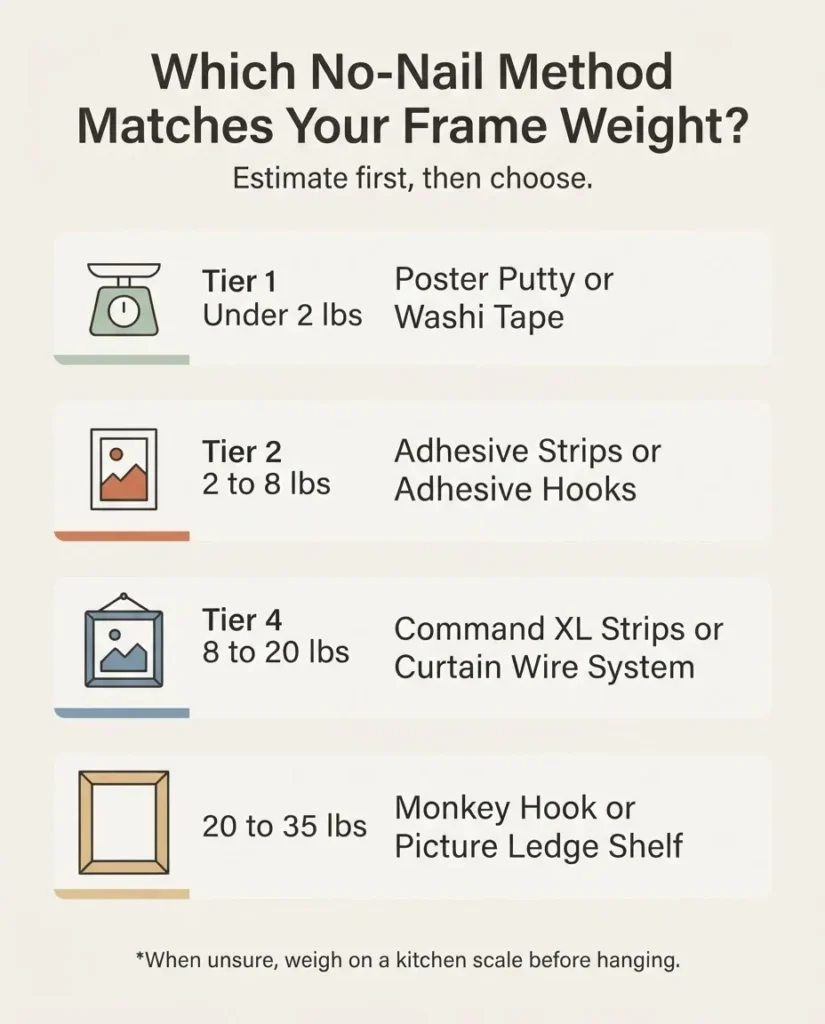
The official 3M Command weight guide breaks down exactly which of their products handles which weight, using helpful comparisons like “a bag of apples is about 3 lbs” and “a gallon of milk is about 8 lbs.” It’s worth bookmarking before your next trip to the hardware store.
Method 1: Adhesive Picture Hanging Strips
This is the first thing most people try, and for good reason. Adhesive picture hanging strips, the most well-known being 3M Command Picture Hanging Strips, are a genuine solution for most lightweight to medium-weight frames. They work in interlocking pairs: one half goes on the wall, one on the frame, they click together, and the frame hangs flat and level. Small strips hold up to 4 lbs per pair, large strips hold up to 16 lbs per set of four pairs, and the XL Heavyweight version holds up to 20 lbs per full set.
They work well on smooth painted drywall, smooth tile, and glass. They do not work on textured walls, wallpaper, brick, or fabric. And here is the one thing 3M is very clear about on their Command picture strip how-to page: do not hang above beds. If a strip fails and a heavy frame falls, you do not want that landing on someone sleeping. Also wait at least seven days after any fresh paint before applying. The adhesive needs a cured surface, not a soft one.
The removal step is where most people go wrong and end up with paint damage. The trick is to pull the stretch tab slowly and directly downward, parallel to the wall, never straight outward. It takes longer than you’d expect, sometimes 30 seconds or more of slow, steady pulling. Rushing it, or yanking at an angle, is exactly how you get a chunk of paint on the strip when you were hoping not to. Patient and slow wins.
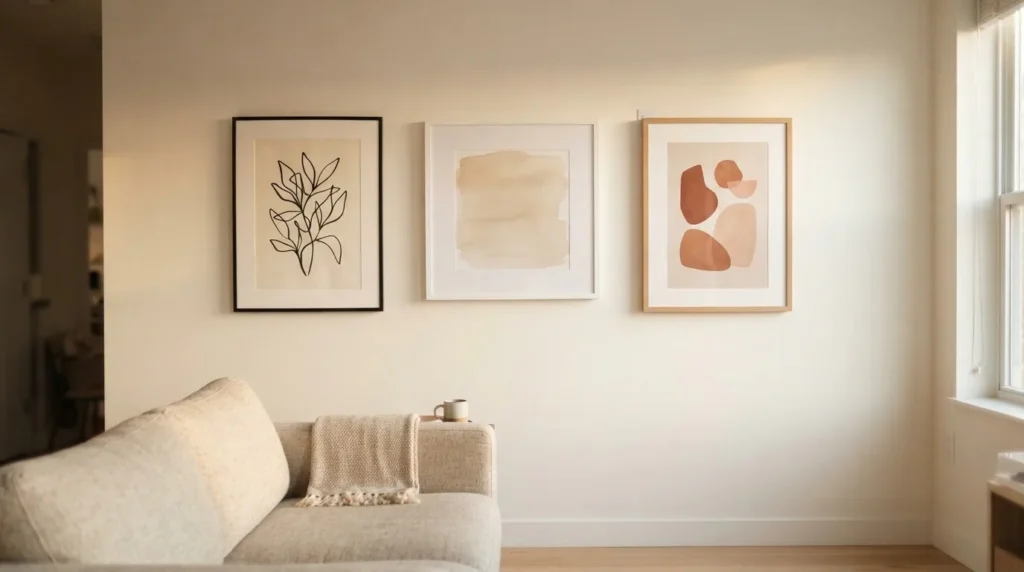
Worth it: Yes, for smooth walls and anything under 15 lbs. This is probably the most renter-useful product on this list. Skip it: For textured walls, wallpaper, heavy frames, or anything truly irreplaceable. Cost: Roughly $7 to $15 for a multipack, depending on size.
Method 2: Adhesive Hooks
A close cousin to picture strips, adhesive hooks work beautifully for art that hangs from a single wire, a sawtooth hanger, or a keyhole slot. They come in a wide range of weight capacities, and the larger formats handle up to 7.5 lbs per hook. The same surface rules apply: smooth drywall good, textured walls and wallpaper not good.
The advantage over strips is that hooks are more versatile. They work for more frame backing types, including wire-backed frames. They’re also easy to reposition if you get the height wrong: remove, let the adhesive rest and re-bond, then rehang. The removal technique is the same stretch-tab-down method. Take your time.
Worth it: Yes, especially for wire-backed frames. Skip it: Same surface warnings as strips. Check weight limits carefully. Cost: Similar range to strips, $6 to $14 for a value pack.
Method 3: Poster Putty and Museum Gel
Poster putty (also called museum putty, earthquake putty, or tack) is that soft, slightly waxy adhesive material you probably used to hang posters in high school. It’s still one of the most underrated no-nail tools for certain situations. It works by pressing small pieces onto the back corners of a frame or directly onto paper, then pressing the whole thing gently to the wall.
It’s genuinely good for: lightweight paper posters, unframed prints, lightweight canvas, small framed prints under 1 or 2 lbs. It’s not good for: anything heavy, glazed frames (it doesn’t grip glass well), or walls with fresh paint.
Museum gel, which is a slightly different product often used to secure objects on shelves, is worth knowing about too but is mostly for keeping things from sliding rather than hanging them.
Worth it: For posters and very lightweight paper art. Cheap, flexible, easy. Skip it: For frames, for anything with glass, for heavy pieces, for walls with flat latex paint where it may pull the surface. Cost: Under $5 for a pack. Very budget-friendly.
Method 4: The Monkey Hook (Technically One Small Hole, But Hear Me Out)
I want to be honest here because this section keeps getting left out of damage-free lists even though it belongs in this conversation. The OOK Monkey Hook is a coiled spring-steel hook that you push and twist directly into drywall. No hammer, no drill, no anchor. It takes about five seconds and creates a tiny hole, smaller than a standard nail hole.
According to the OOK Hardware product guide, it holds up to 35 lbs in residential 1/2-inch drywall and up to 50 lbs in commercial 5/8-inch drywall. That weight capacity is the entire reason it earns a spot on this list. If you have a larger, heavier frame that genuinely can’t be handled by adhesive strips, this is your best “almost no damage” option.
The hole it leaves is so small that a dab of spackle and a touch of paint makes it invisible. Whether that small hole counts against your deposit depends on your lease and your landlord, but as noted earlier, HUD guidance generally classifies picture-hanging holes as normal wear and tear. If you’re truly hole-free by requirement, skip this one. If you just want minimal damage on a heavier piece, this is worth considering.
Worth it: For heavier frames, 15 to 35 lbs, on standard drywall. One of the strongest low-damage options available. Skip it: If your lease literally says zero holes. Also does not work on plaster walls. Cost: Around $5 to $8 for a 5-pack.
Method 5: Picture Rail Molding
If you live in an older building, look up at the wall where it meets the ceiling. You might see a narrow wooden rail running along the top of the wall. That’s a picture rail, and it’s one of the best renter-friendly hanging systems in existence. It was designed specifically for this: you hang a small picture rail hook over the rail, attach a length of wire, cord, or chain, and hang your frame from that. Zero holes in the wall itself.
As Apartment Therapy notes in their piece on how the 57-inch hanging rule works, this also gives you total flexibility to slide frames up and down without ever re-marking the wall, which is a real advantage when you’re trying to get your height right. The standard to aim for is the center of your artwork sitting 57 inches from the floor, which aligns with average human eye level and is the standard used by most galleries and museums. Picture rails make adjusting to hit that mark genuinely easy.
Worth it: Absolutely, if your building has them. Check older apartments and any pre-1950s construction. Skip it: You either have them or you don’t. They can’t be added without installation. Cost: Specialty picture rail hooks cost roughly $8 to $20 for a set. Wire or chain by the foot is under $10.
Method 6: Curtain Wire Display System
This is one of my favorite methods for creating a low-profile display that can swap art freely. The IKEA DIGNITET curtain wire system, which uses a thin stainless steel cable stretched between two anchor points, was designed for curtains but gets used constantly by renters and small-space decorators for displaying prints, photos, and lightweight art using small clips or binder clips.
The IKEA DIGNITET does require two small screws to mount (one on each end), so it’s not completely hole-free. But the holes it leaves are tiny and the display it creates looks intentional and designed, like a little gallery wire. It works especially well in a small apartment hallway or entry where you want a rotating display of prints without committing to permanent placement.
Alternatively, a tension wire system stretched between two walls leaves no holes at all and works for ultra-lightweight pieces.
Worth it: For people who want a rotating, gallery-style display for lightweight prints. Very cool looking. Skip it: For heavy frames or if you need genuinely zero holes. Cost: IKEA DIGNITET runs around $15 to $20 for the wire system.
Method 7: Picture Ledges
A picture ledge is a narrow shelf specifically designed to hold framed art upright, leaning slightly against the wall. The frames sit on the ledge rather than hanging from it, which means the only holes are from the shelf mounting hardware, not from the art itself. And one ledge can hold five, eight, or ten frames where otherwise you’d have five, eight, or ten separate hanging points.
IKEA’s MOSSLANDA ledge is the one most people reach for, and it earns that reputation. The IKEA picture ledge page shows the 21¾-inch version starting around $9.99 and the 45¼-inch version around $19.99, which makes this an extremely affordable way to display a lot of art at once. The ledge can be mounted with standard screws, which leave two small holes, and then you can rearrange the art on top of it freely, forever, without touching the wall again.
Stacking two or three ledges at different heights creates a layered gallery look that looks collected and styled, not budget.
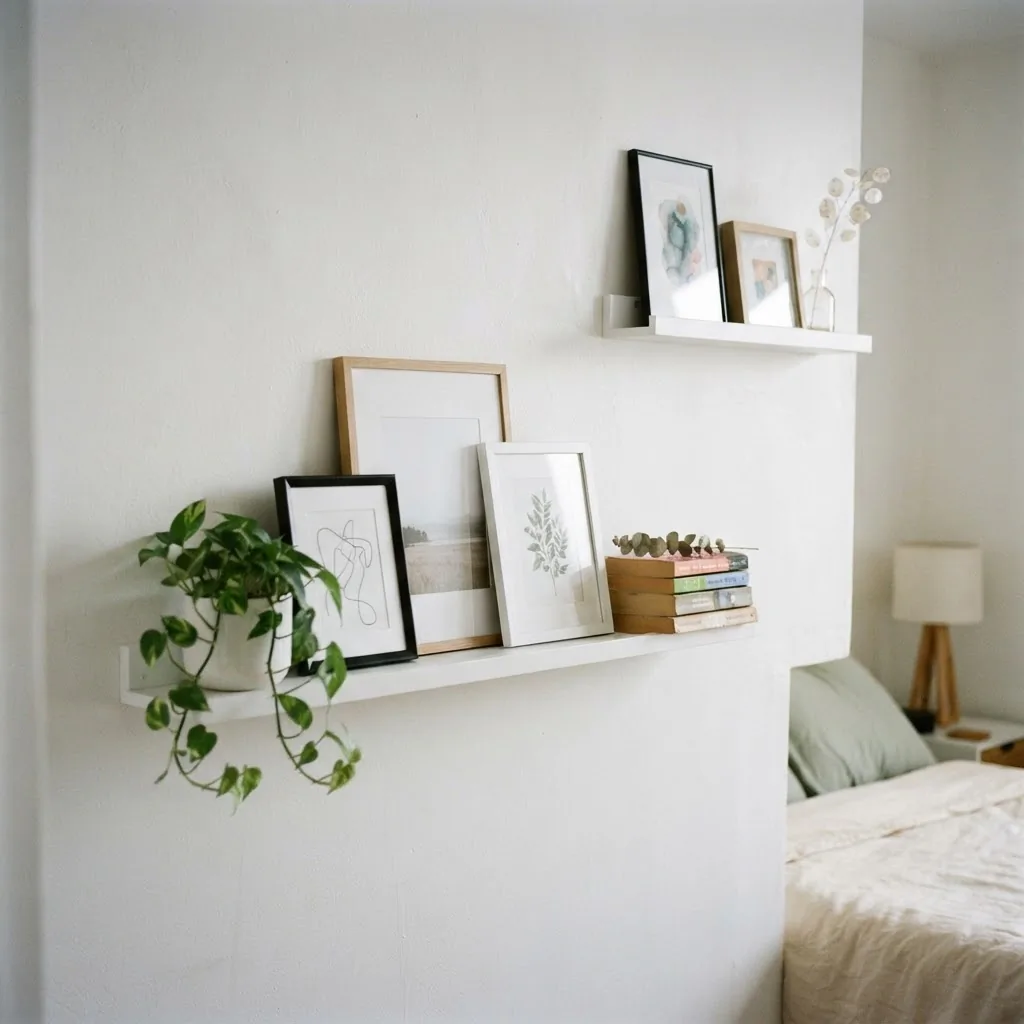
This is one of the methods I think genuinely holds up visually and practically for renters.
Worth it: Strongly yes. One of the best long-term solutions for renters. Skip it: If you truly can’t make even two small screw holes. Otherwise this is a real winner. Cost: $10 to $25 per shelf depending on length. Very affordable for the amount of art you can display.
Method 8: Leaning Art Against the Wall
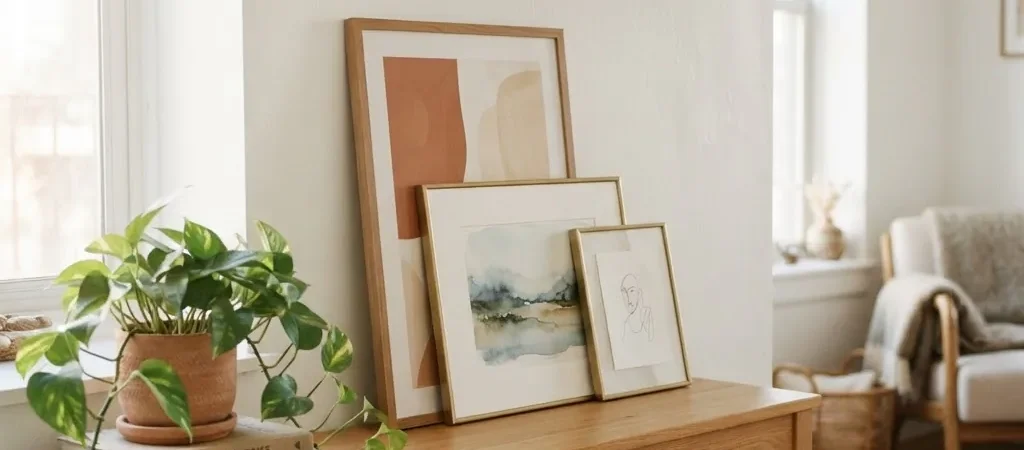
Leaning is having a genuine moment in interior design, and it deserves more than a dismissive mention. A large piece leaned against a wall on the floor, or a medium piece leaned against the wall on top of a console table, dresser, or bookshelf, looks intentional and relaxed when done with intention.
The keys to making leaning art look styled rather than “I haven’t gotten around to hanging it yet” are: size and scale matter a lot (lean something big enough to feel deliberate, not a tiny frame rattling at the base of a wall), layering works beautifully (lean two or three pieces of different sizes in front of each other to create depth), and grounding it with something else like a plant, a lamp, or a stack of books makes it look like a composed vignette rather than art waiting for a hook.
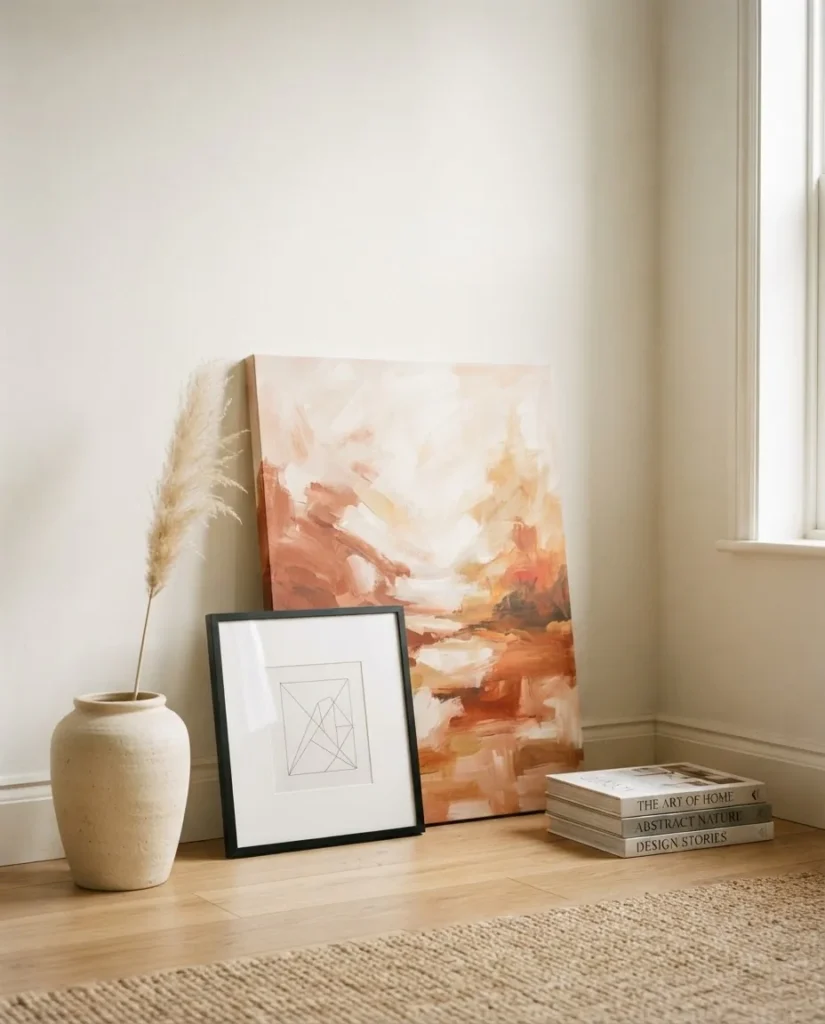
Park West Gallery’s guide on how to hang artwork without nails notes that mantels work especially well for this approach, with the added benefit of the mantel acting as a natural anchor. If you regularly use a fireplace, just make sure the piece isn’t close enough to accumulate heat or soot.
Worth it: Yes, for large pieces and styled arrangements. One of the chicest damage-free options. Skip it: For small pieces on open walls where leaning will always look like an afterthought. Cost: Free. The art is already yours.
Method 9: Art Easels
An easel is worth considering for one or two statement pieces you really want to showcase. Floor easels let a large canvas stand freely in a room, which can look very intentional in a living room corner or bedroom. Tabletop easels work for smaller framed pieces on a console, sideboard, or bookshelf.
The downside is that easels take up floor or surface space, which matters in a small apartment. One well-placed easel with a striking piece can look great. Three easels crowding a room starts to feel like a storage problem. Use this one selectively.
Worth it: For one or two statement pieces. Good for renters who move frequently since it’s entirely freestanding. Skip it: If space is tight. Don’t over-easel your room. Cost: Tabletop easels from $8 to $20. Floor easels from $25 to $60+.
Method 10: Washi Tape Framing
Washi tape is a Japanese decorative paper tape that comes in hundreds of patterns and colors. For paper prints and posters, you can use washi tape directly to mount a piece to the wall, pressing a piece of tape across each corner. The look becomes part of the display: the tape frames the print rather than hiding.
An important nuance here: not all washi tape is equal. Traditional washi tape made from washi paper fiber is designed to release cleanly from most surfaces. But cheaper decorative tapes sold as “washi” sometimes use a more aggressive adhesive that can lift paint. Test a small piece in a hidden corner for a day or two before committing. Also avoid washi tape on flat latex paint, which is the most common rental wall finish and the most prone to lifting.
Worth it: For paper prints, prints in a dorm, or situations where the tape itself becomes the design element. Budget-friendly and fun. Skip it: For painted walls with flat latex paint. Test before you commit. Cost: Usually $3 to $8 per roll.
Method 11: Magnetic Poster Hangers
Magnetic poster hangers are thin strips of wood with embedded magnets that clamp the top and bottom of a paper print between them. You hang the top strip from a small nail, hook, or adhesive hook, and the print floats cleanly between the two bars. They look genuinely designed, not makeshift, and they work beautifully for paper prints, artwork, maps, and fabric panels.
They come in natural wood, black-stained wood, and other finishes. The aesthetic is clean and modern or warm and natural, depending on what you choose. Because the hanger takes up only one small mounting point at the top, they pair naturally with adhesive hooks for a fully no-nail option.
Worth it: For paper and fabric art where you want a finished, intentional look without a frame. One of the nicer-looking options. Skip it: For glass-framed pieces or anything too heavy for a paper-weight backing. Cost: Ready-made pairs run $10 to $25 depending on width.
Method 12: Bookshelf and Surface Display
This one is obvious once you’ve thought of it, but worth saying plainly: bookshelves, consoles, dressers, windowsills, and built-in shelving are all valid display surfaces for art. A small framed print propped on a bookshelf between books, or a series of three small frames along a console table, can look very considered. The key is styling: art among books, plants, and objects reads as a collected, layered display. Art alone on an empty shelf can look like it’s just sitting there waiting for a home.
Worth it: A strong option for small frames, prints, and anything that benefits from the company of other objects. Skip it: For large pieces that need wall presence to do their job. Cost: Zero, if you already have the shelf.
A Few Things That Make Any Method Look Better
Whatever method you use, height matters more than most people realize. The most common hanging mistake I’ve seen in rentals isn’t a bad method. It’s hanging everything too high. The standard that galleries and museums use is placing the center of the artwork 57 inches from the floor, which corresponds to average eye level. Most people hang about six to eight inches too high, which makes art feel disconnected from the room rather than part of it.
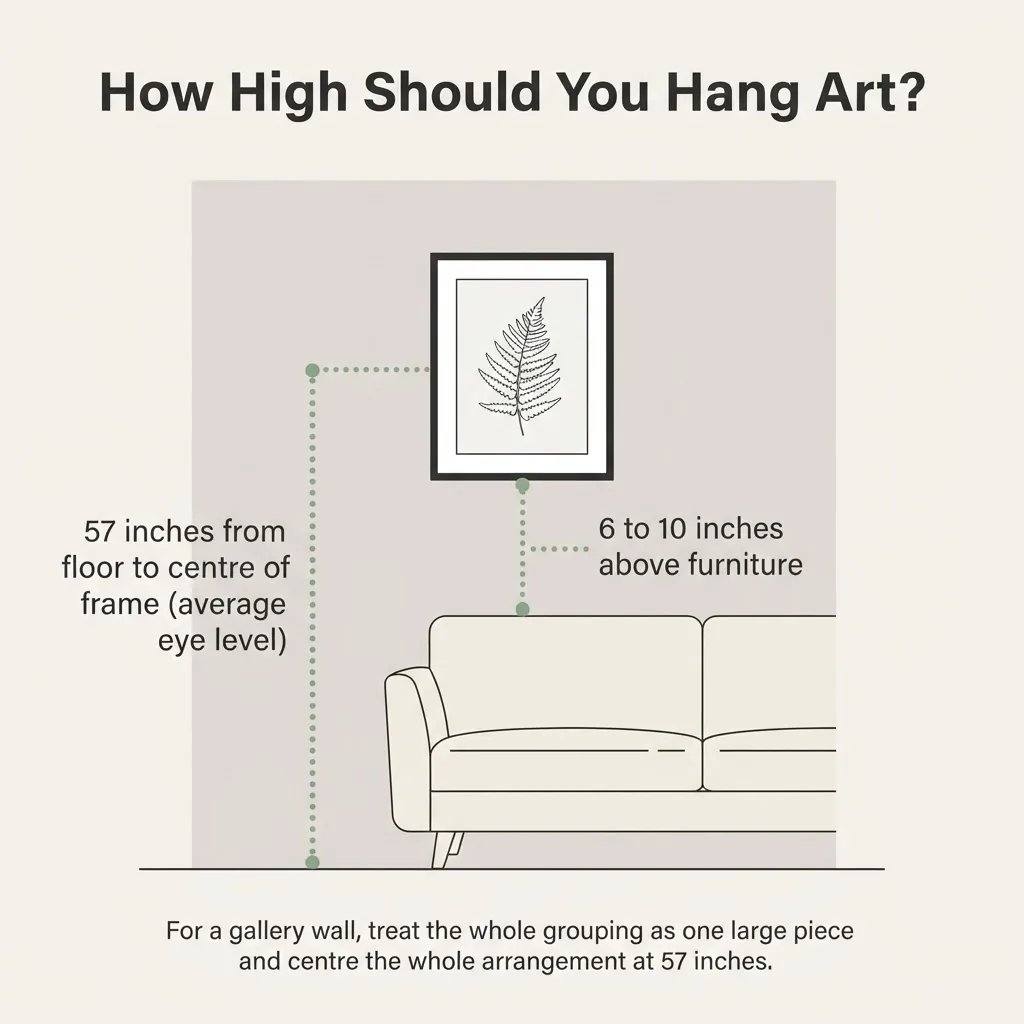
Measure once before you commit, especially if you’re using adhesive hooks that are harder to reposition.
Also: a single piece on an empty wall, hung at the right height with breathing room around it, almost always looks better than several pieces crammed together at different heights. Editing and restraint are the underrated tools of home styling. You don’t need the wall covered. You just need it intentional.
A Note on Surfaces Before You Start
One thing no one tells you until it’s too late: the method you pick only works as well as the surface it’s going on. Smooth, clean, fully cured drywall is the ideal surface for almost all adhesive products. Textured walls (that orange peel or knockdown finish common in a lot of apartments) reduce adhesive contact significantly and cause strips to fail earlier than expected. Wallpaper is the worst surface for adhesives because the adhesive bonds to the wallpaper, not the wall, and can pull the paper off when removed. Plaster walls in older buildings can be brittle and may chip or crack even with adhesive removal.
If you have textured walls or wallpaper, lean toward non-adhesive methods: ledge shelves, curtain wire systems, leaning art, surface displays, or if holes are permitted, the Monkey Hook.