14 Pillar Candle Decor Ideas That Make a Room Feel Calm

There is something a little magical about the moment you get candles right in a room. Not perfectly arranged, not styled-for-a-photoshoot right. Just… right. The kind of right where the room suddenly feels like it exhaled.
I have been chasing that feeling in small rentals for most of my adult life. Pillar candles were one of the first decor tools I actually trusted, mostly because they are cheap, they are portable, they do not require a landlord’s permission, and when you arrange them well, they add something that is genuinely hard to fake: the sense that someone thoughtful lives here.
But I have also watched pillar candles make a space feel messier than it did before. Mismatched heights shoved together, melted wax pooling onto a wood shelf, three candles in a row like they are waiting for a bus. Getting this right is not complicated, but it does take a few things most beginner guides skip over. That is what this post is for.
What Is a Pillar Candle, and Why Does It Work So Well as Decor?
A pillar candle is a freestanding wax candle, wide enough to stand on its own without needing a container or a holder to keep it upright. That self-sufficient quality is exactly what makes them so useful for styling. You can place them low or elevate them, cluster them or let one stand alone, keep them in the background or make them the focal point of a whole vignette.
Standard sizes range from small pillars around 3 inches tall all the way up to statement pieces at 9 to 12 inches, with diameters typically between 2.25 inches and 4 inches. The width matters for styling as much as the height: a skinny taper-style pillar reads delicate and vertical, while a chunky 4-inch wide block reads grounded and sculptural. For most home styling purposes, a mix of the two is where things get interesting.
Burn times scale with size, so a 3×6 inch pillar gives you a very different lifecycle than a 3×3. That is worth keeping in mind when you are deciding whether to actually burn a candle or just use it as a display piece.
The Two Rules That Make Every Pillar Candle Grouping Work
Before we get into specific ideas, I want to give you the two principles that sit underneath almost all of them. Understanding these will help you troubleshoot your own arrangements instead of just copying a picture.
Rule one: odd numbers.
Groups of two feel like a matched set. Groups of four feel like a table setting. Groups of three, five, or seven feel like something you put together intentionally but not rigidly. The 3-5-7 rule in interior decorating is a well-established design principle, and it shows up everywhere in home styling for a simple reason: odd groupings create visual movement, while even groupings create symmetry. Symmetry is not bad, but in a casual home setting it can feel stiff. Most of the ideas below use groupings of three or five for this reason.
Rule two: varying heights.
This one matters more than most people realize. When every candle in a group is the same height, the eye has nowhere interesting to go. When you vary heights, you create a mini landscape.
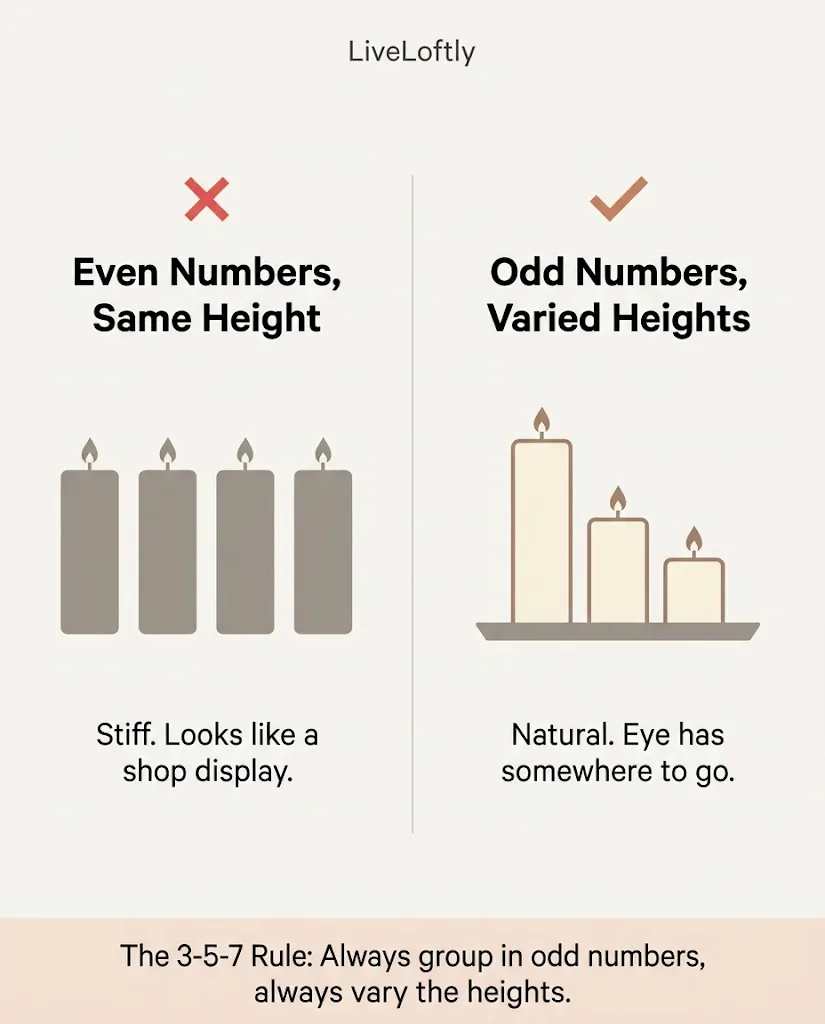
The eye travels up, across, and down. The arrangement feels layered rather than flat. A simple three-candle group with a tall, a medium, and a short pillar will almost always look better than three candles of identical size, even if the candles themselves are cheaper.
Keep both of these in your back pocket. They apply to almost every idea below.
Pillar Candle Decor Ideas for the Living Room
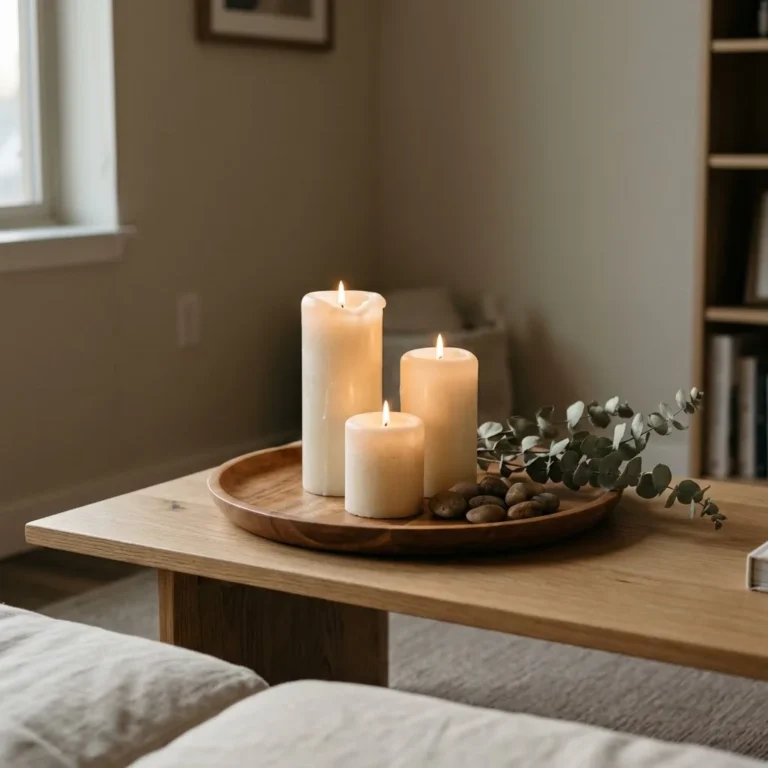
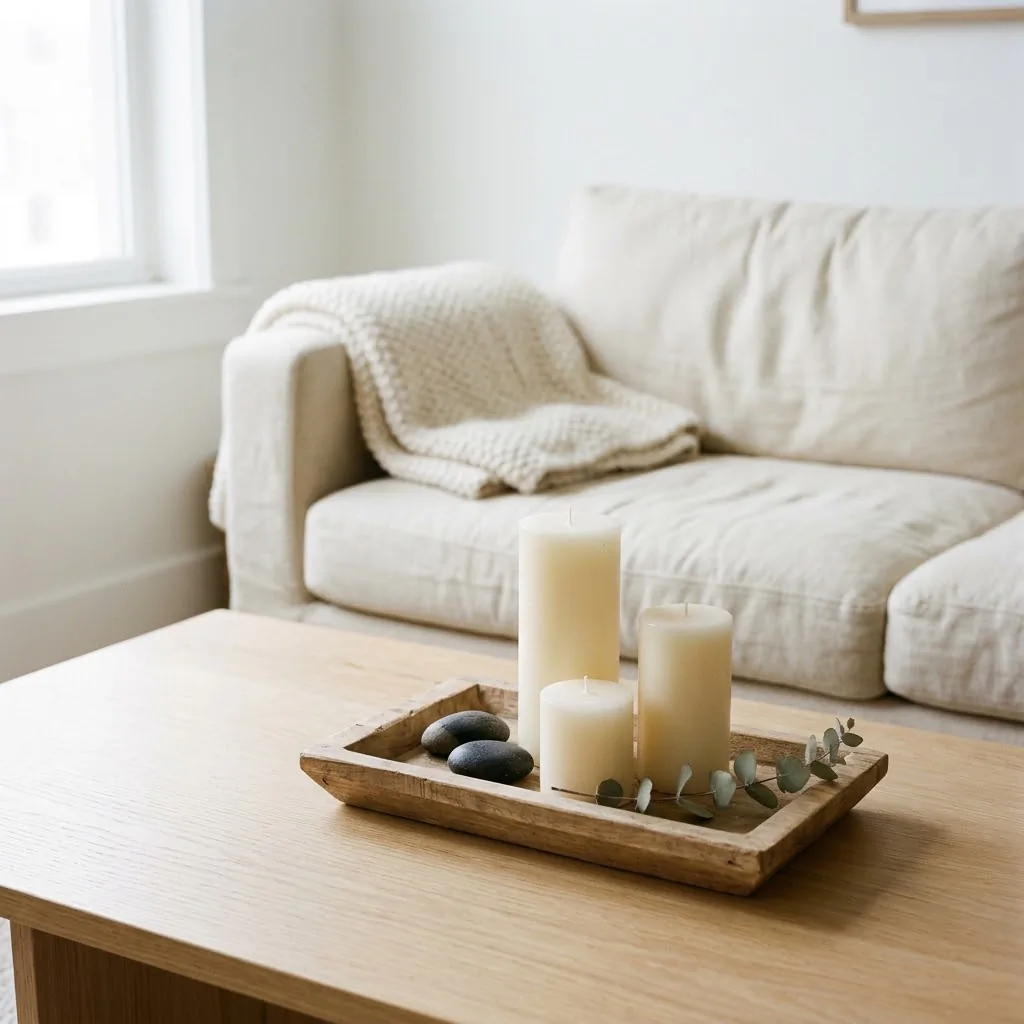
1. The Tray Grouping on a Coffee Table
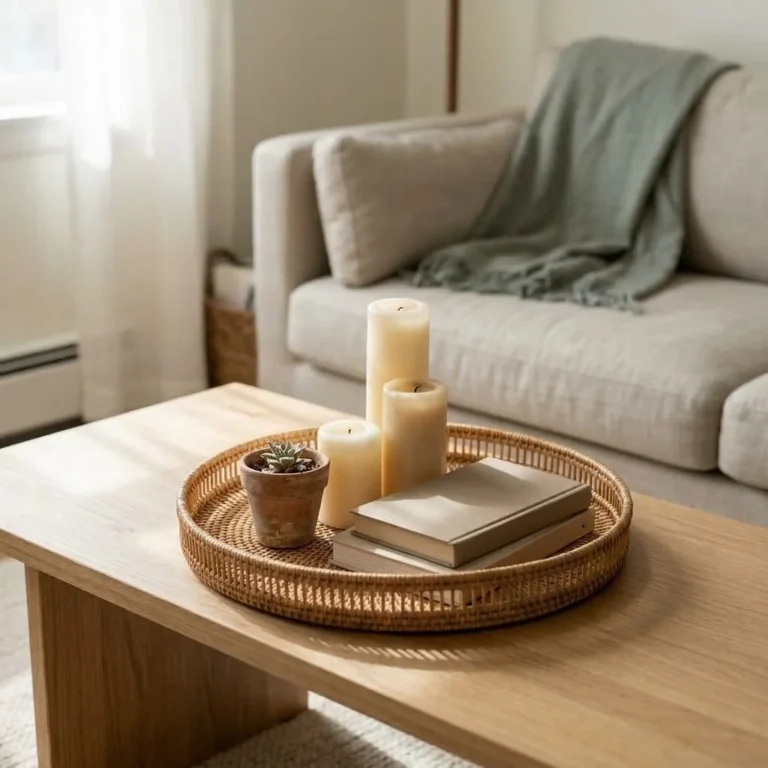
This is probably the most versatile pillar candle arrangement there is, and it works in almost any size apartment. Start with a tray, any tray, wood, marble-look, rattan, black lacquer. The tray does two jobs: it visually grounds the arrangement (so it reads as one intentional “thing” rather than random objects), and it protects your table surface from wax drip and heat, which matters a lot if you are renting.
On the tray, place three pillar candles in varying heights. Fill in around them with one or two small supporting elements: a smooth stone, a small dried eucalyptus bundle, a low votive, a pebble or two. The trick is restraint. The tray should not look packed. Negative space is part of the arrangement.

Color palette: stick to one family. Creams and ivory, warm terracottas, cool grays and whites, or all-black for a more modern look. Mixing every color on the shelf is what makes an arrangement look busy rather than calm.
2. The Mantel Line With Varying Depths
If you have a fireplace mantel (or a bookshelf ledge you are treating like one), try this: instead of lining candles up in a single row at the same depth, stagger them front to back. Place a tall pillar toward the back, a medium one slightly in front of it and to the side, and a short one in front. This creates depth that makes the arrangement feel more three-dimensional and intentional. Tuck a small trailing plant or a few dried stems in between if you want to break up the wax-only look.
3. One Tall Pillar as a Solo Statement
This one gets overlooked because it feels too simple. A single tall pillar, say 9 inches or taller, set on a beautiful holder or a thick wooden disc, can anchor an entire shelf vignette without any company at all. The key is the base. A bare candle sitting on a flat shelf can look forgotten. That same candle on a piece of raw-edge wood, a marble slab from the kitchen section of a home store, or a raised pillar plate immediately looks like a deliberate design choice.
4. The Fireplace Candle Cluster (No Flame Required)
If you have a non-working fireplace or a bricked-up hearth, filling the firebox with candles is one of the most visually striking things you can do in a living room. The cavity creates a natural frame. Group five to seven pillar candles of different heights inside, all in a similar color family. You get the visual warmth of a fireplace without any of the fire.
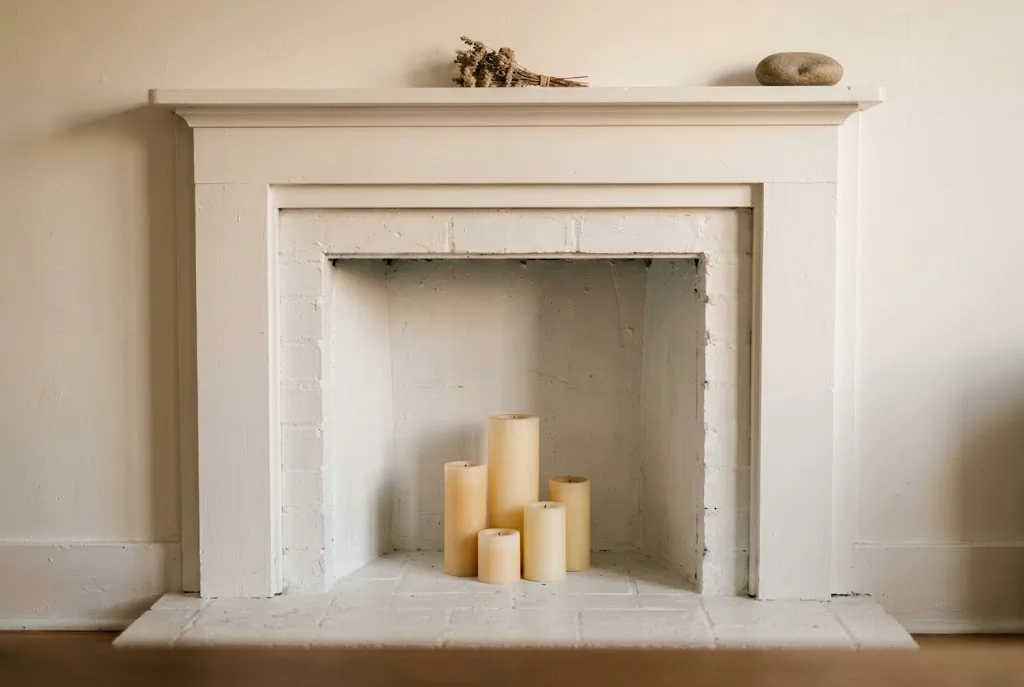
This works beautifully in a rental where the fireplace is blocked anyway.
5. The Floor-Level Candle Cluster for Small Spaces
In a tiny apartment where every surface is already working hard, consider the floor. A cluster of three to five pillar candles in a corner of the living room, set on a small tray or a flat stone, creates a warm focal point at floor level that does not compete with the rest of your styling. Scandinavian and Japanese interior design both lean heavily on floor-level objects for exactly this reason: low placements make a room feel calmer and less top-heavy.
Pillar Candle Decor Ideas for the Bedroom
6. Nightstand Pair (With a Height Trick)
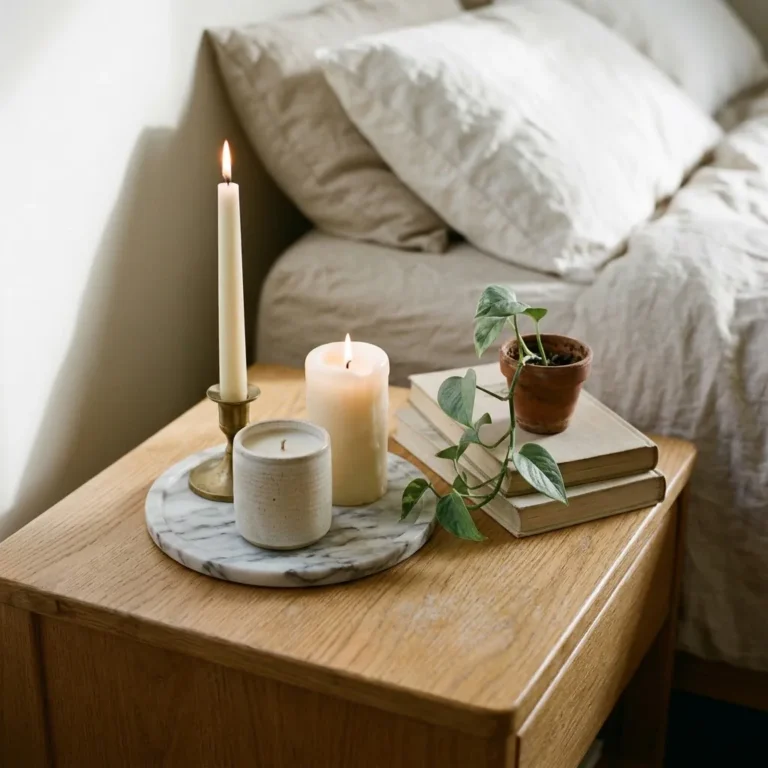
Two candles on a nightstand usually looks a little stiff. Here is how to break that: use one actual pillar candle and one raised candlestick holder with a slim pillar on top. Now they are technically two objects, but the different bases and heights read as a composed vignette rather than a matched set. Keep one side of the nightstand clear so the pairing has room to breathe.
7. The Windowsill Row
A row of varying-height pillar candles along a windowsill is one of the quietest and most beautiful bedroom styling moves I know. The light from the window behind them, or the ambient room light reflecting in the glass pane at night, makes even unlit candles feel warm. Use a narrow tray or a wooden board underneath to catch any wax, and make sure curtains are nowhere near them if you plan to light them.
8. Dresser Vignette Anchor
A pillar candle makes an excellent anchor object for a dresser vignette because it adds height and texture without requiring much horizontal space. Place it on one end of a tray alongside a small plant, a ring dish, or a folded cloth. Think of the candle as the “tall” in the classic short-medium-tall styling trio. It earns its spot on the dresser because it actually does visual work.
Pillar Candle Decor Ideas for the Bathroom and Entryway
9. Bathroom Shelf Calm
A bathroom shelf with two or three white or cream pillar candles is one of the easiest ways to make a rental bathroom feel like a spa you did on purpose. Pair them with a small stone dish for cotton rounds, a folded linen hand towel, and one small plant. The whole thing costs almost nothing if you thrift the tray and the dish. The candles do the heavy lifting because they add warmth and softness to a room that is often all hard, cold surfaces.
10. Entryway First Impression
The entryway is one of the most overlooked small-space opportunities. A console table, a floating shelf, or even the top of a short bookcase near the front door can hold a simple candle grouping. One tall pillar, a small tray, maybe a stone or a few keys-and-bowl things you already own. It takes about three minutes to set up and it changes the entire first impression of your home for anyone who walks in.
Pillar Candle Decor Ideas by Style
11. Minimalist and Scandinavian: The White-on-White Stack
Unscented white pillar candles in two or three heights, arranged on a simple white or light wood tray, with nothing else on it. That is the entire idea. The beauty comes from simplicity and the texture of the wax itself. If you are drawn to clean, quiet rooms, this is the one.
12. Earthy and Boho: Wax, Wood, and Botanicals
Beeswax-toned or unbleached pillar candles paired with a raw wood base, a few dried botanicals (pampas, dried citrus slices, small seed pods), and a woven tray or a clay dish underneath. The warmth of the wax color against natural materials creates that lived-in, organic feeling without looking like a craft project.
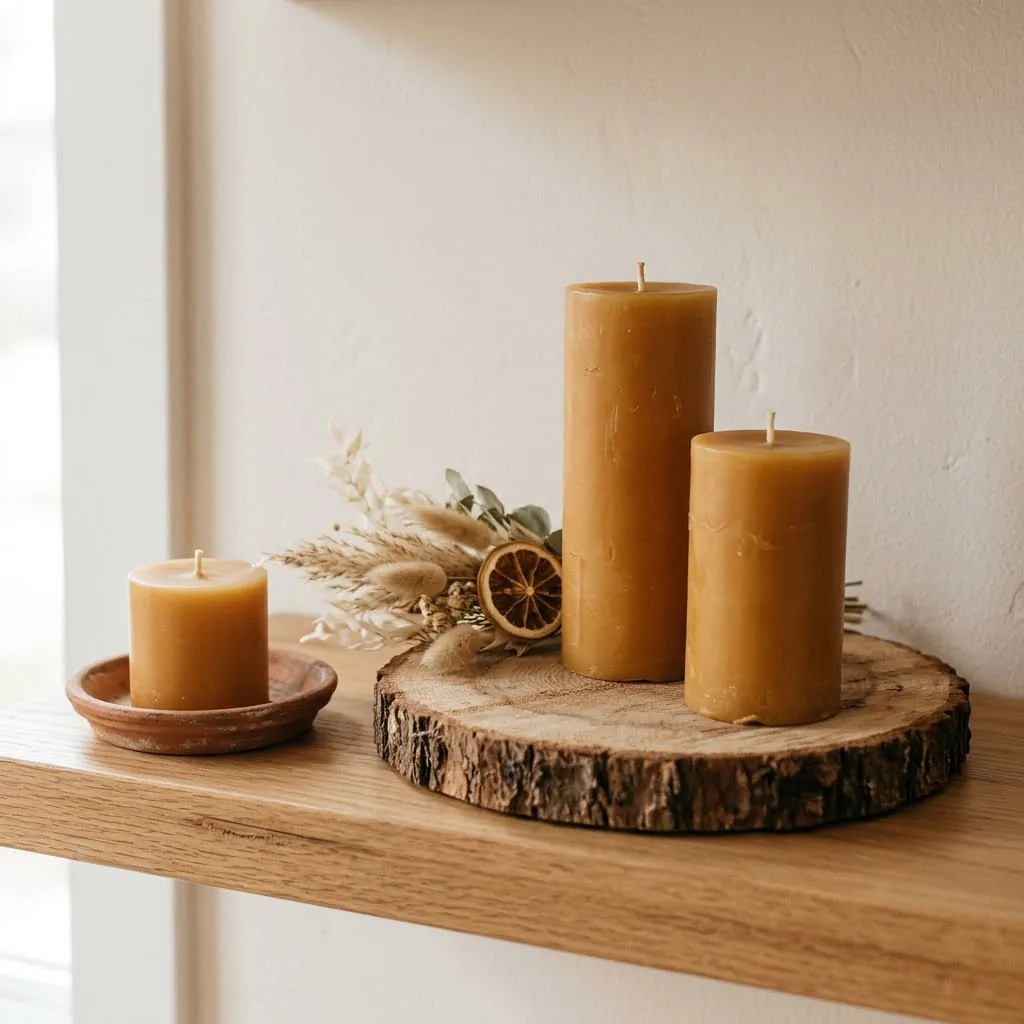
Terracotta saucers from any garden center make excellent, cheap candle plates for this look.
13. Coastal: Driftwood and Soft Neutrals
Group pale gray or ivory pillar candles on a piece of driftwood or a whitewashed wooden tray. Tuck in a few small shells, smooth river stones, or a sprig of dried seagrass. Keep the palette very tight (white, cream, pale gray, natural wood) and the arrangement airy rather than packed. This look falls apart fast when it gets crowded.
14. Seasonal Transition: Same Candles, New Accessories
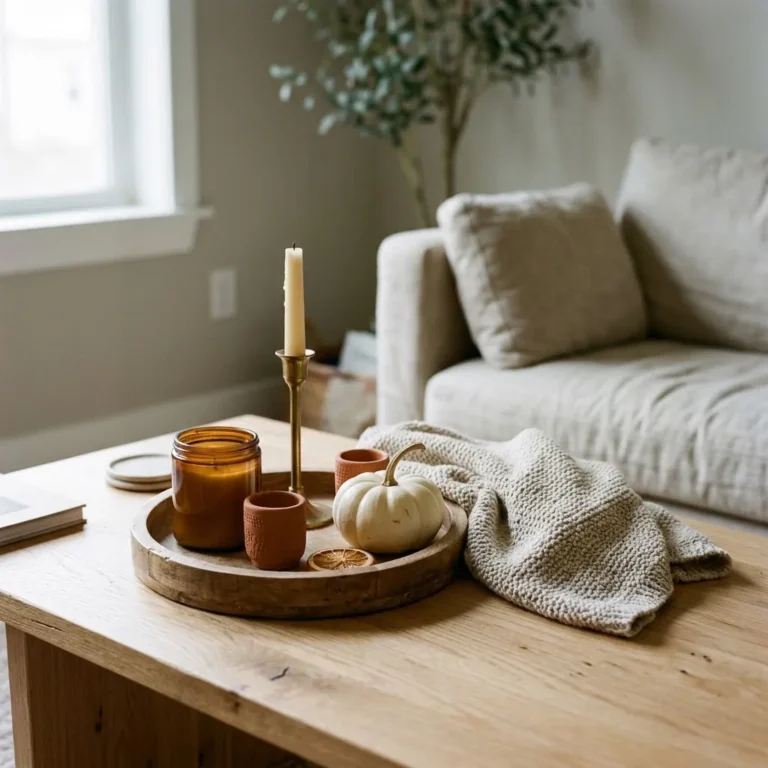
One of the most budget-conscious moves I know is buying a set of quality pillar candles you love (good shape, neutral color) and then changing only what surrounds them with the seasons. Summer: a linen tray, a few smooth stones, fresh greenery. Fall: swap in cinnamon sticks, a small gourd, amber-colored votives, dried oak leaves. Winter: pine cones, a bit of greenery, a frosted votive tucked alongside. The candles themselves never change. The season does all the work.
Where to Find Pillar Candle Holders Without Overspending
This is where I want to give you genuinely honest guidance, because holders are where a lot of people waste money.
Worth spending on: A really good tray. A marble or stone platform if your style leans minimal or earthy. These last for years and work with almost any candle. IKEA has some of the most reliably useful candle holders and simple trays at budget price points, and their candle holders and accessories section is worth a scroll if you want something that looks clean and intentional without spending much.
Totally fine to thrift: Individual candlestick bases, wood slices, ceramic dishes, and decorative trays. These are some of the most common things in any thrift store because people donate them constantly. An $8 thrifted candlestick with a $4 pillar candle on top can look genuinely elegant.
Skip it: Cheap plastic holders that are sold as matching “sets” in bulk. They almost always look exactly as cheap as they are, and the plastic yellows. Spend the thrift-store five dollars on something with real material: wood, ceramic, glass, metal.
Pillar Candle Sizes: A Quick Reference for Styling
Understanding sizes helps you shop with purpose. A quick reference based on standard sizing: small pillars run about 3 to 4 inches tall and work well tucked into groupings or placed on a nightstand. Medium pillars, around 4 to 6 inches, are the most versatile and easiest to find. Tall statement pillars at 9 to 12 inches create strong vertical interest and can anchor a shelf or mantel on their own. For a three-candle grouping, one tall, one medium, and one short gives you the best height variety without looking like you raided every size on the shelf.
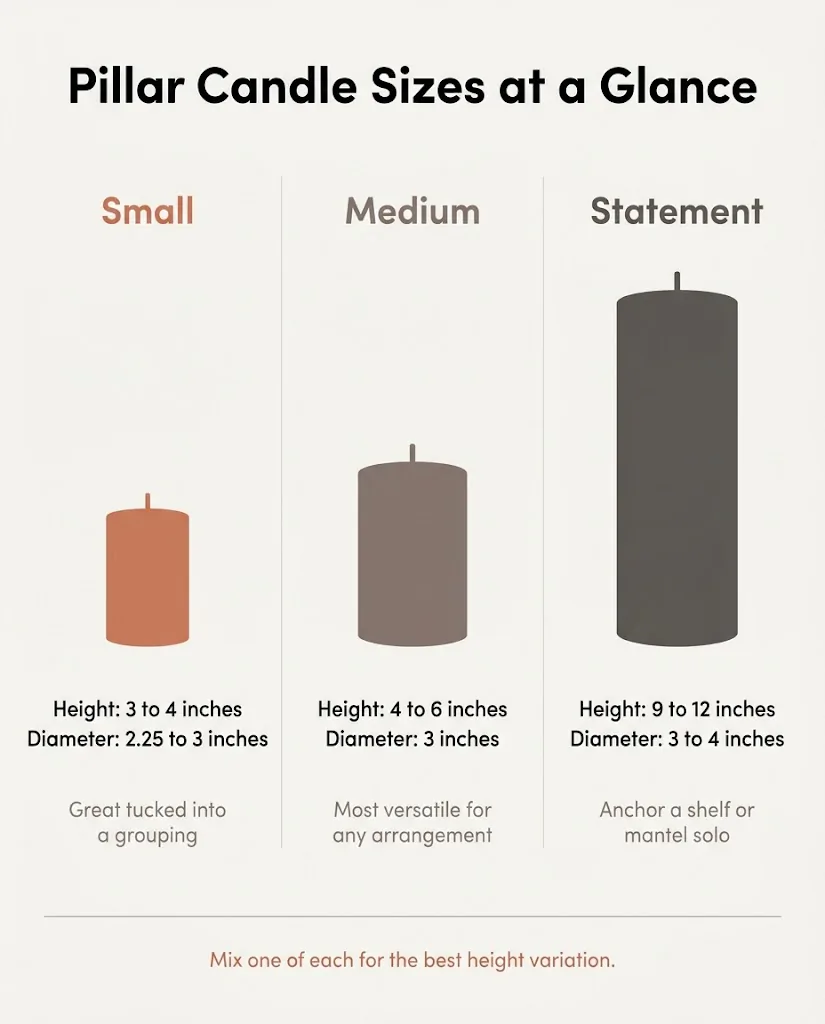
You can find a thorough candle sizing reference here if you want the full breakdown by diameter, height, and approximate burn times.
The Honest Renter Note: Flameless Is Not a Compromise
If you live somewhere that does not allow open flames, or if you have pets, small children, or just a genuine anxiety about leaving the house with candles lit, I want to say this plainly: good flameless pillar candles have gotten genuinely good. The flicker technology in quality LED pillar candles is convincing enough that in ambient light, most people cannot tell the difference. They are reusable, they do not drip, and they do not present any fire risk at all.
They are not identical to a real flame, and I will not pretend otherwise. But for styling purposes, for creating the look and the warm glow without the responsibility of an open flame, they are a completely legitimate and practical choice. They are especially useful in a bedroom, where the USFA/FEMA specifically recommends avoiding lit candles in sleeping areas.
Candle Safety: The Part That Actually Matters
I want to cover this because I have seen a lot of candle styling posts treat safety as a throwaway disclaimer, and I think that undersells how easy it is to use candles safely when you just know the basics.
Trim your wick to 1/4 inch before every single use. This is the single most important candle care habit there is, and the National Candle Association is clear on this: an untrimmed wick creates a higher flame, more soot, and uneven burning that eats through your candle faster. A wick trimmer costs a few dollars and pays for itself in candle longevity alone.
Keep candles at least 12 inches from anything flammable. Curtains, books, dried botanicals, paper, textiles. The NFPA reports that US fire departments respond to an average of 7,610 home candle fires per year, and a significant portion of those happen when something flammable is too close to the flame. That number is not meant to scare you off candles. It is just a reminder that the 12-inch rule is real.
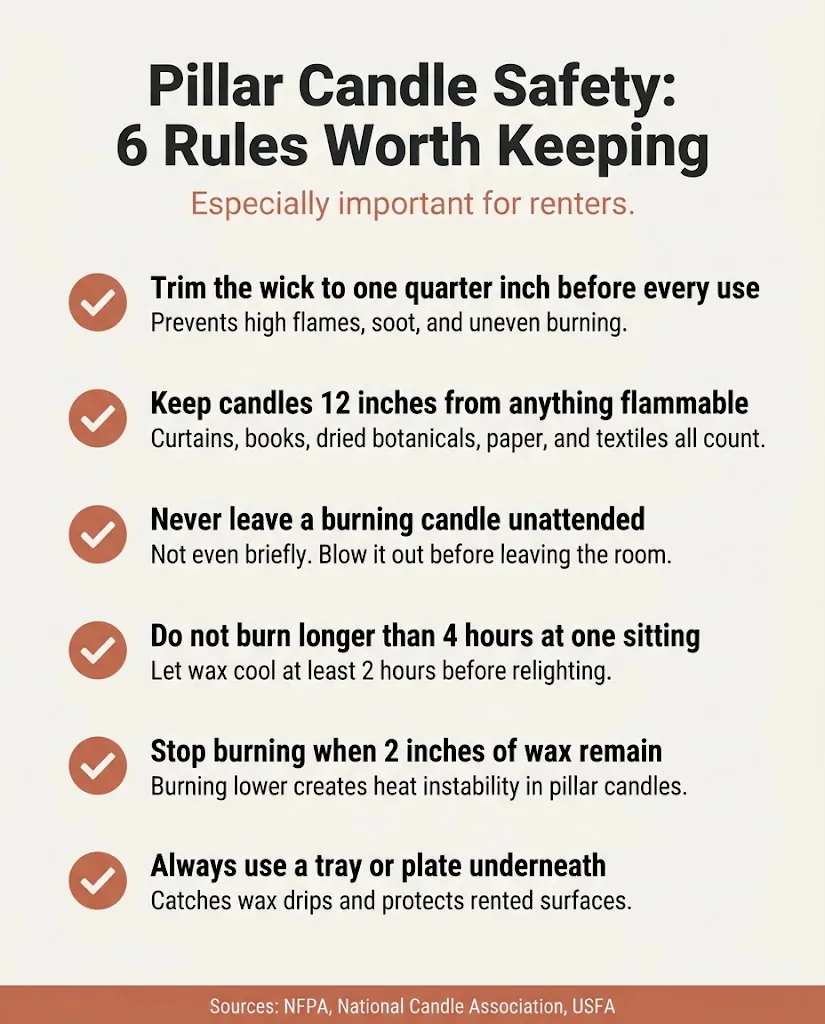
A few other habits worth keeping: never leave a burning candle unattended, do not burn for more than four hours in a single sitting, and let the wax cool for at least two hours before relighting. For pillar candles specifically, extinguish when there are about two inches of wax remaining. Burning lower than that creates heat instability and can make a thin wax shell crack.
And if you are renting: always use a tray or plate under every pillar candle you burn. Wax drips happen, especially as the candle gets shorter. A good tray catches the drip and protects the surface underneath. That is just good deposit protection.
The One Styling Mistake Worth Avoiding
More is not better with candles. I see this a lot: someone buys six or eight pillar candles and places them all in one spot because they want impact, and the result is a surface that looks chaotic rather than calm. The arrangement starts to read like a candle store rather than a home.
Edit down. Three well-placed candles on a good tray with some breathing room will almost always look better than eight candles crammed together with no negative space. When in doubt, take one away. The calm comes from what you remove as much as what you keep.
Pillar candles are one of those rare decor tools that genuinely work at almost any budget, in almost any size space, and without changing anything permanent about your home. I find that encouraging. You do not need a house, a mantel, a big table, or an expensive holder collection. You need a few candles in varying heights, one good tray, and a willingness to edit until it feels right.
Start with three. See how it feels. That is usually enough.